Access Management 2.0
Objective
ActivePlatform™ Access Management 2.0 (AM 2.0) has an administrative user interface to configure or modify several security aspects, such as the authentication and OAuth client setup. This document describes how you can set up OAuth 2.0 clients for external integration and for calling the REST API.
Before You Begin
You will need access to the ActivePlatform™ solution and a System:SystemAdministrator or System:KeycloakAdministrator role to be able to configure security properties in the AM 2.0.
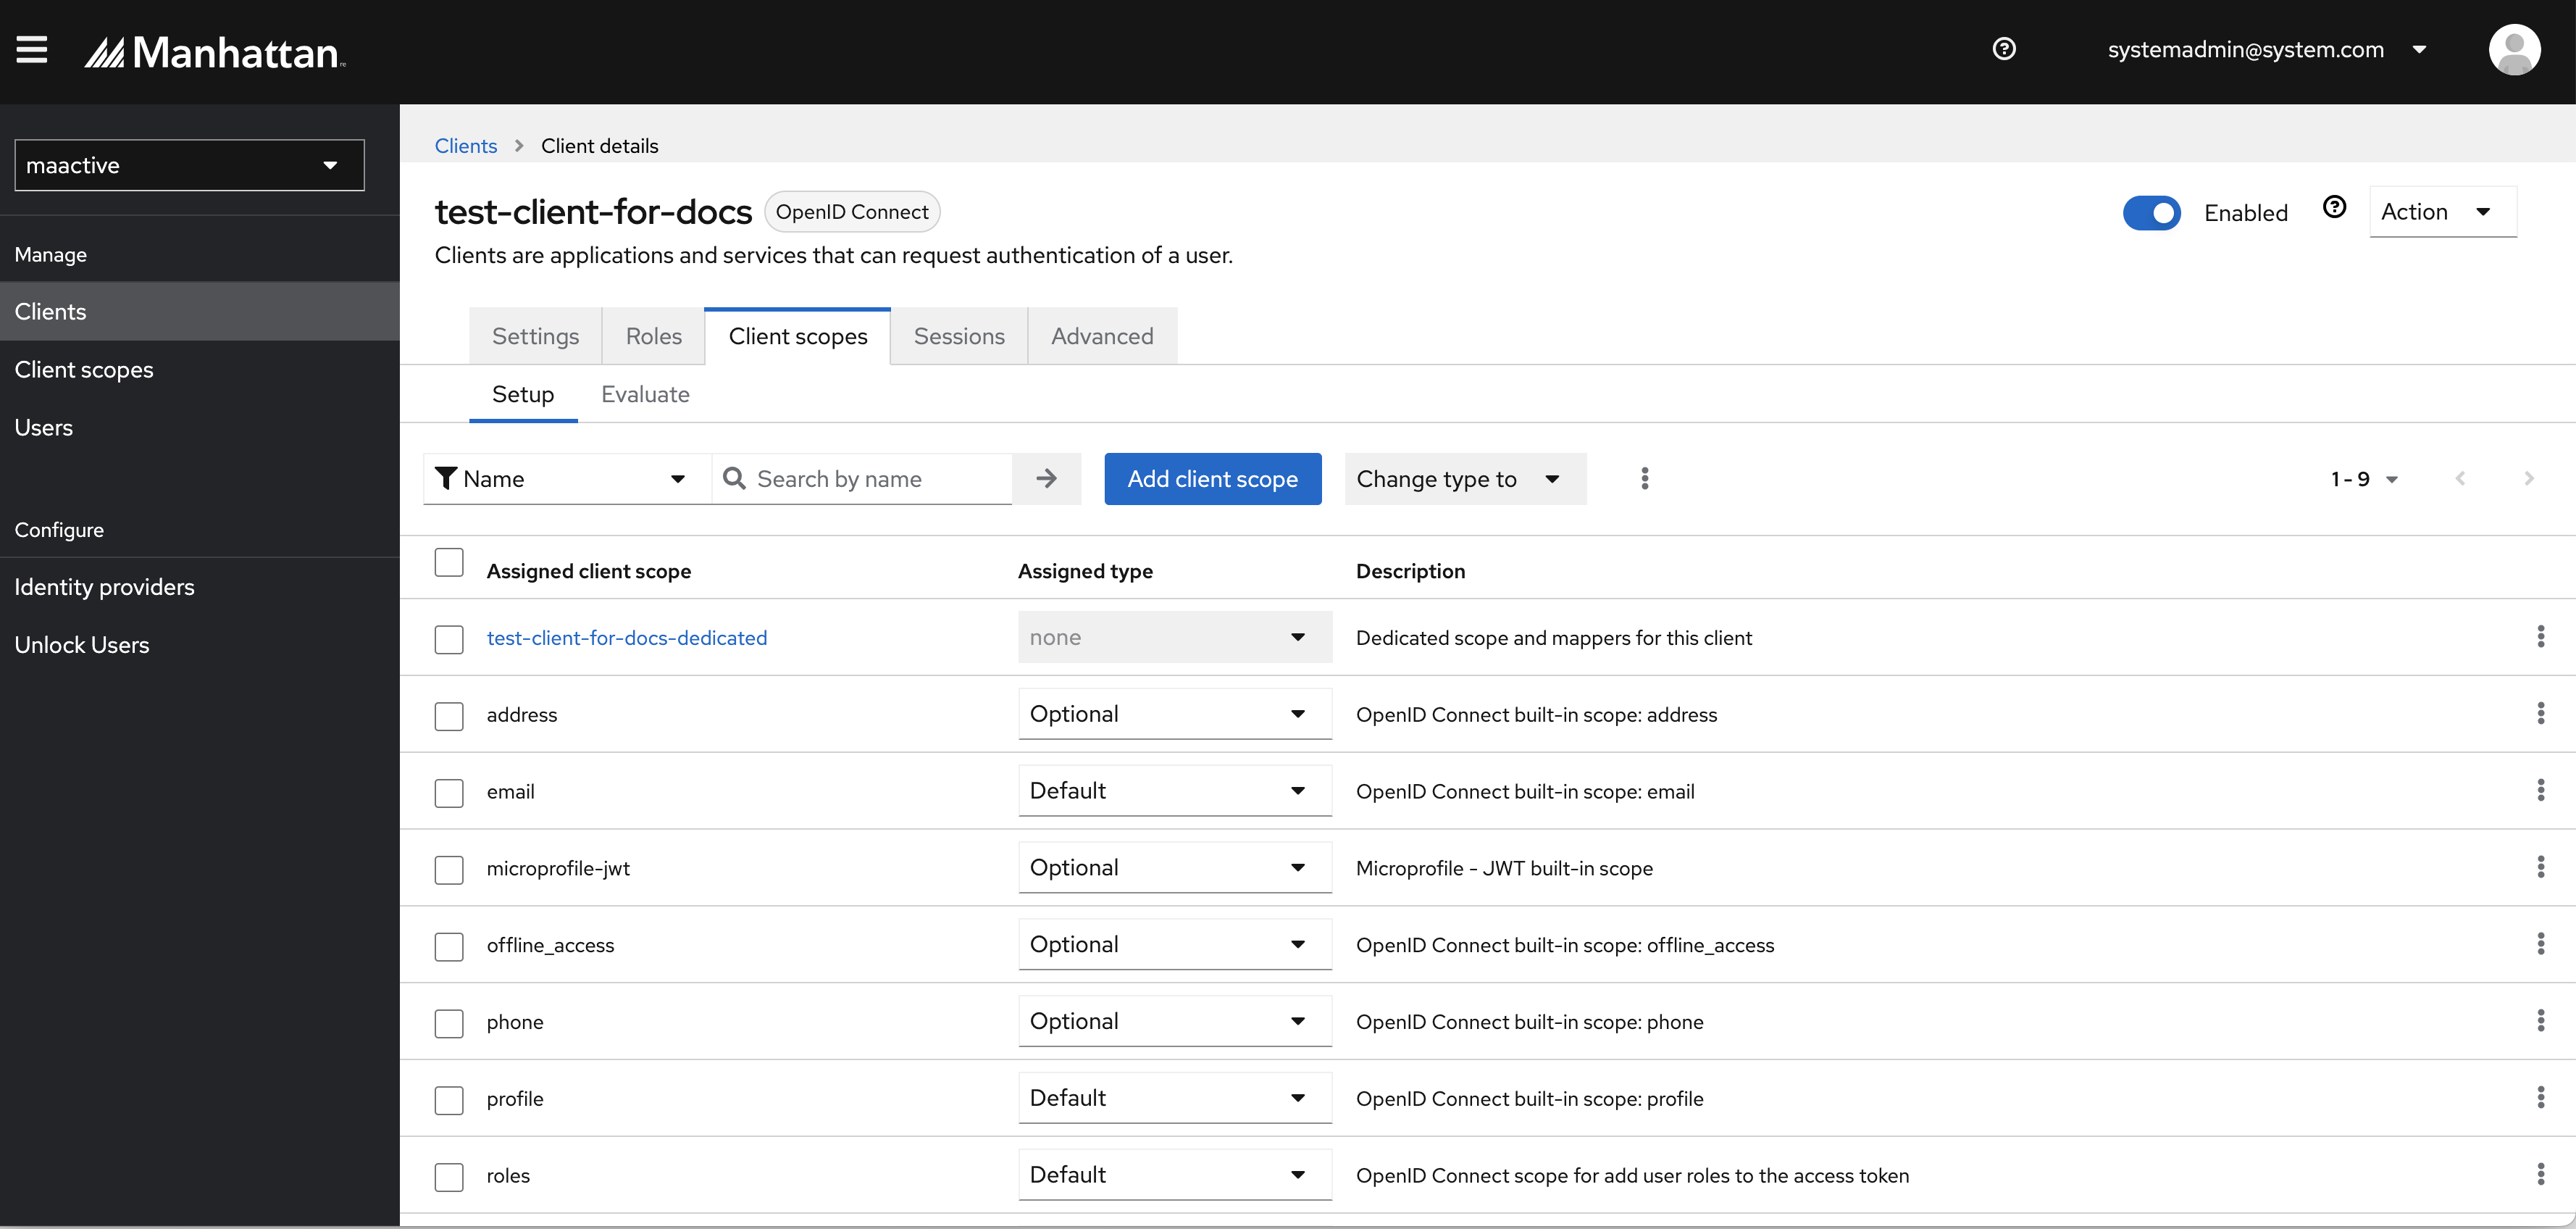
To check your access in the administration UI, go to your AM 2.0 URL (https://<unique_id>-auth.<domain_name>/auth/admin/maactive/console/) and login. Administration UI will look something like this:
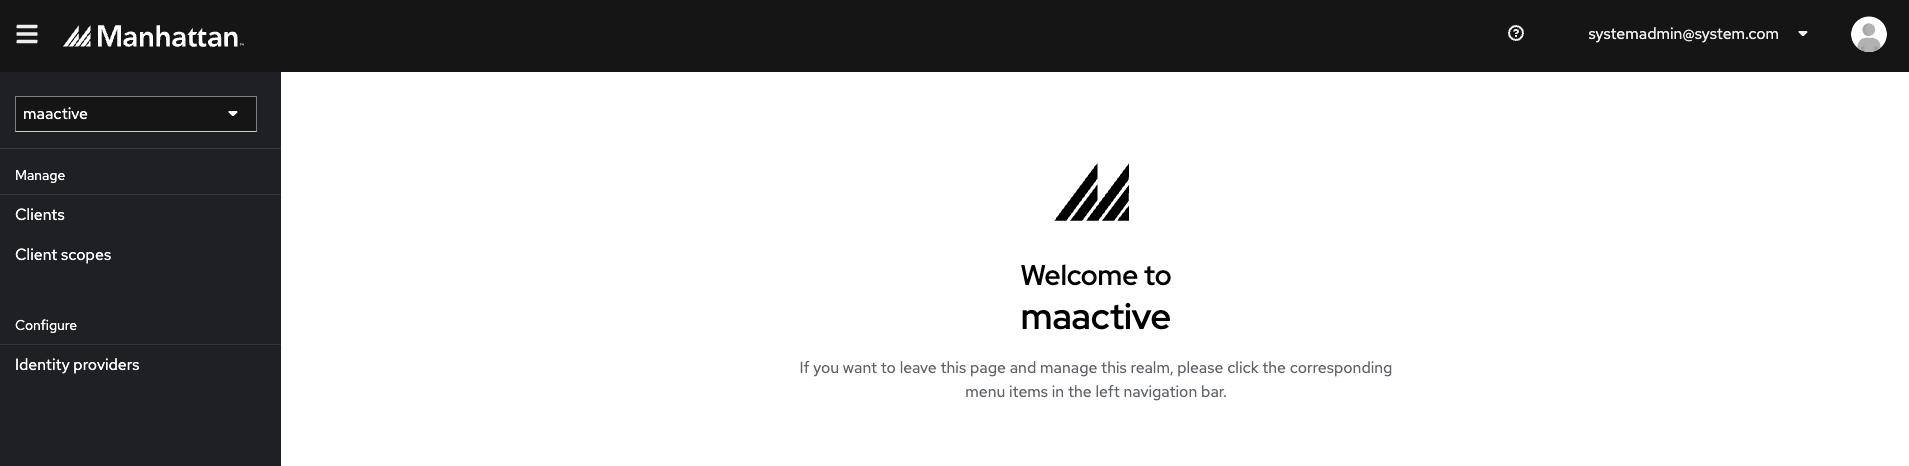
Note: The panel is accessible only to the users with the System:SystemAdministrator or System:KeycloakAdministrator role.
Managing OpenID Connect clients
Clients are entities that request authentication on behalf of a user. Clients come in two forms. The first type of client is an application that wants to participate in a Single Sign On. These clients are only looking for security from AM 2.0. The other type of client is the one that requests an access token so that it can invoke other services on behalf of the authenticated user.
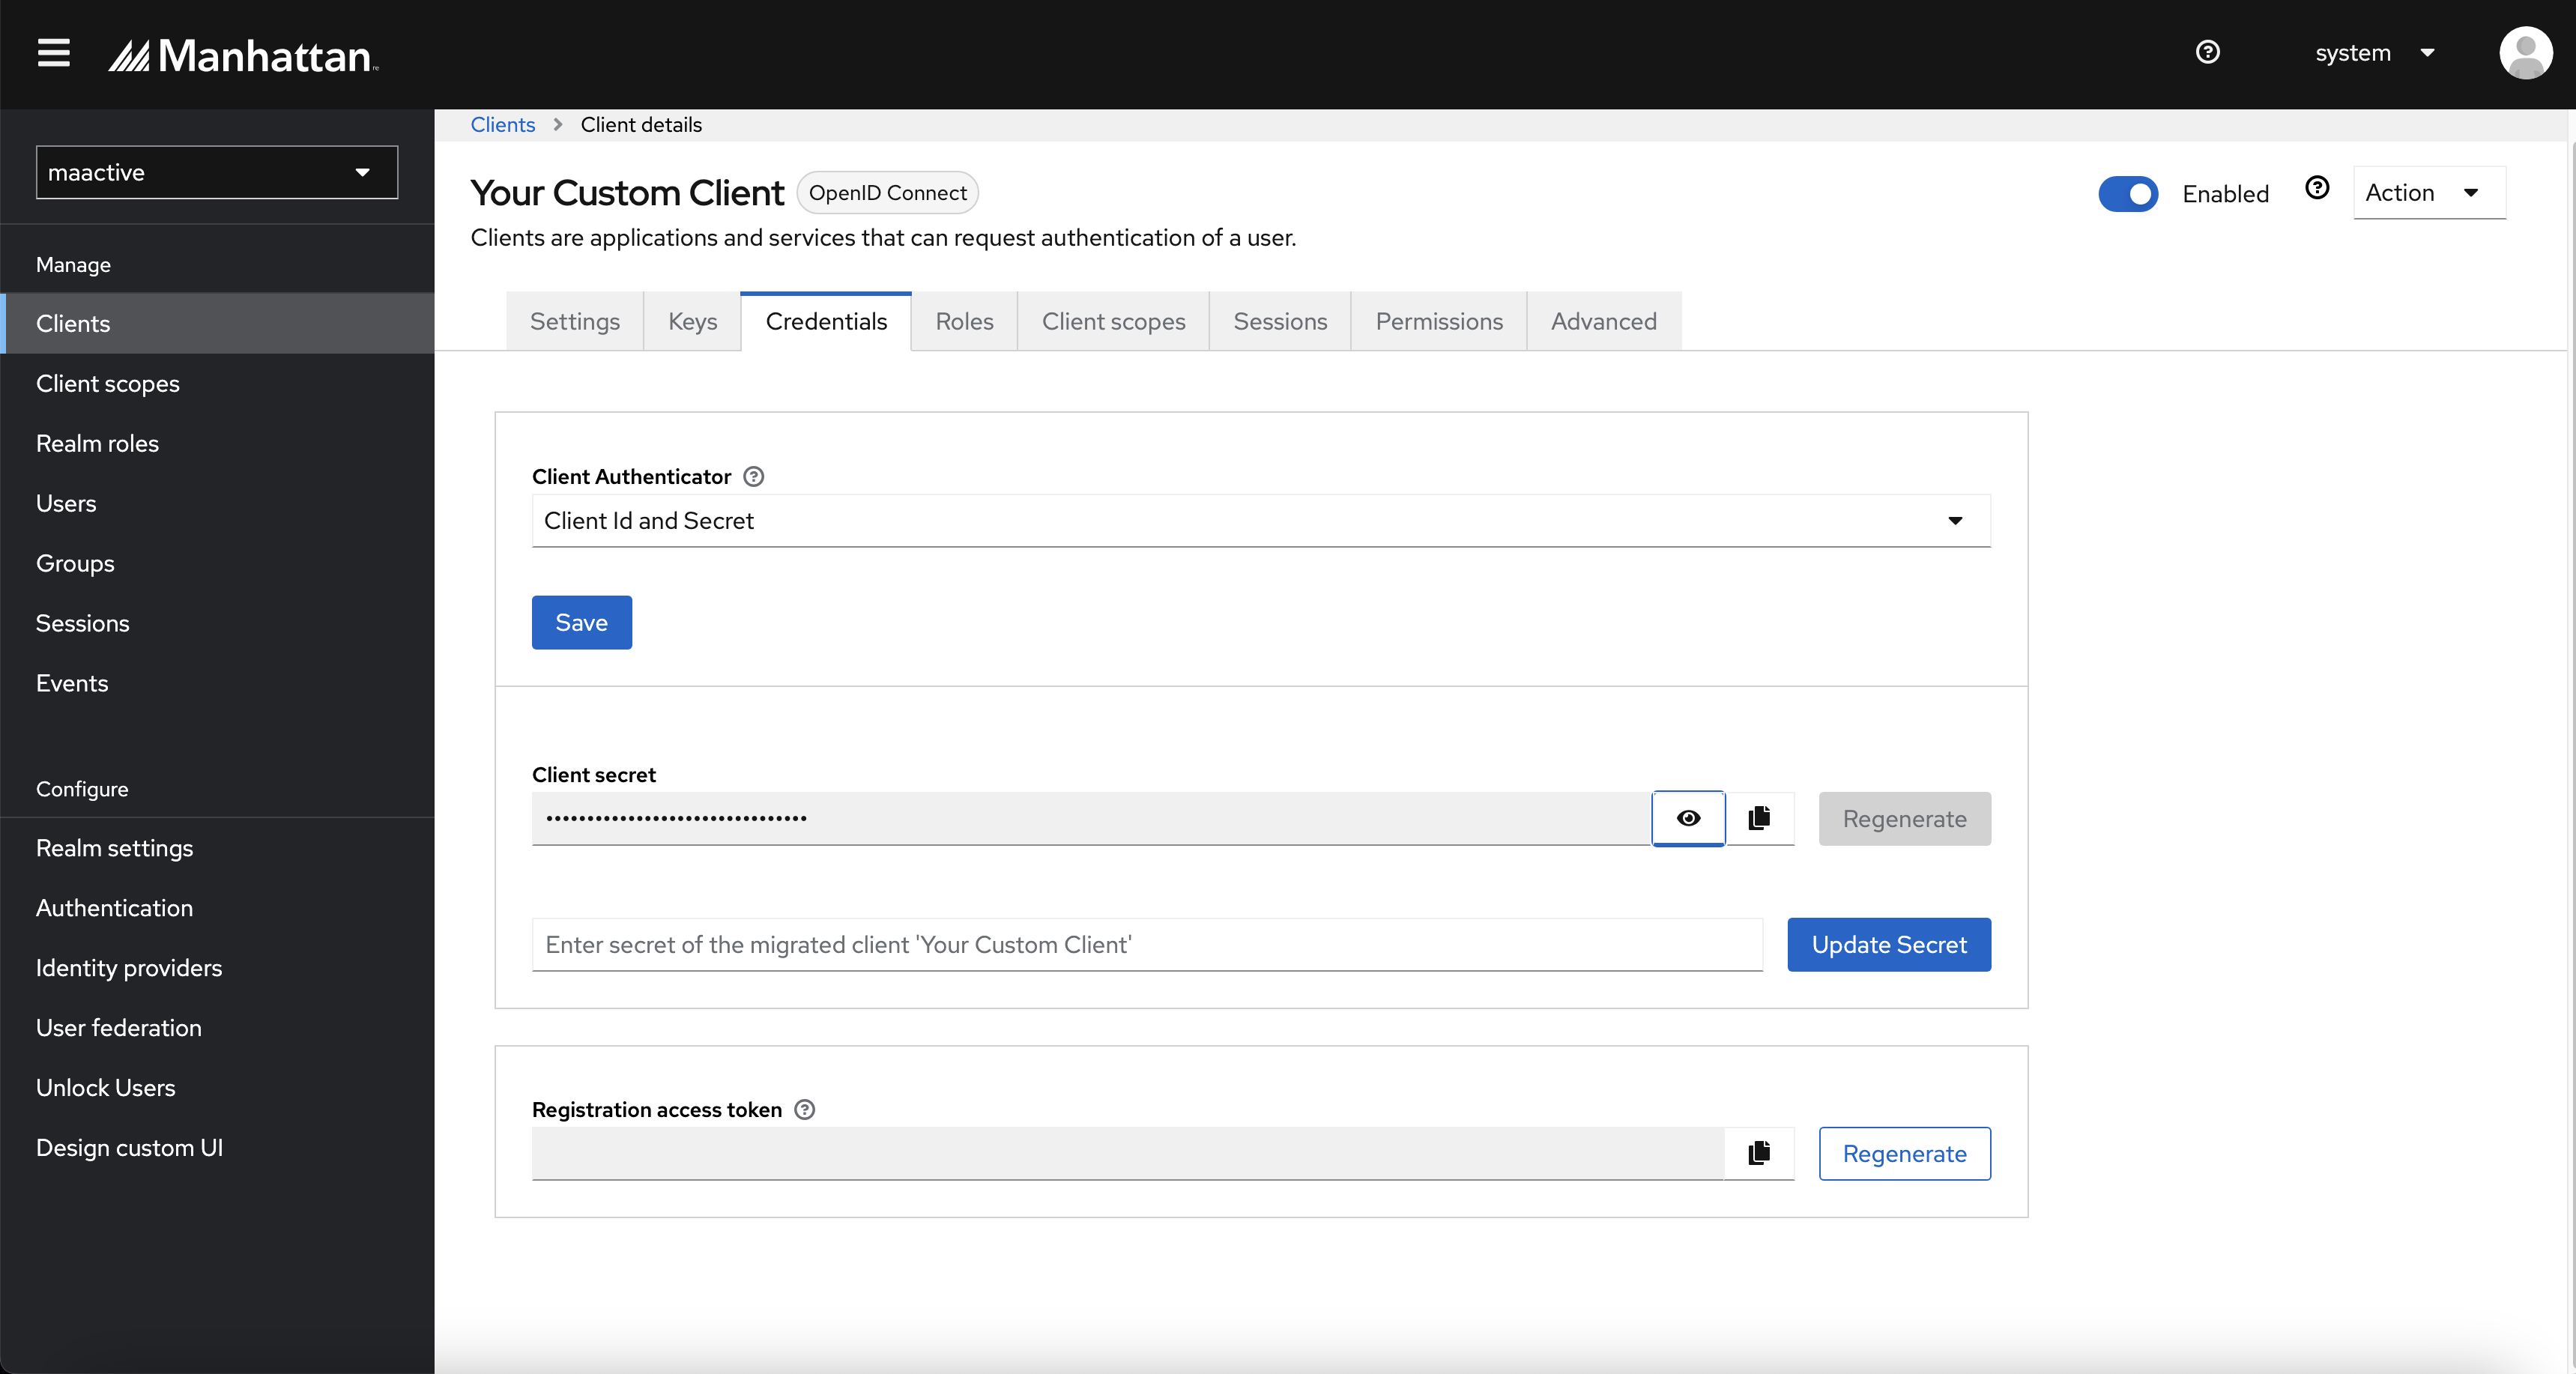
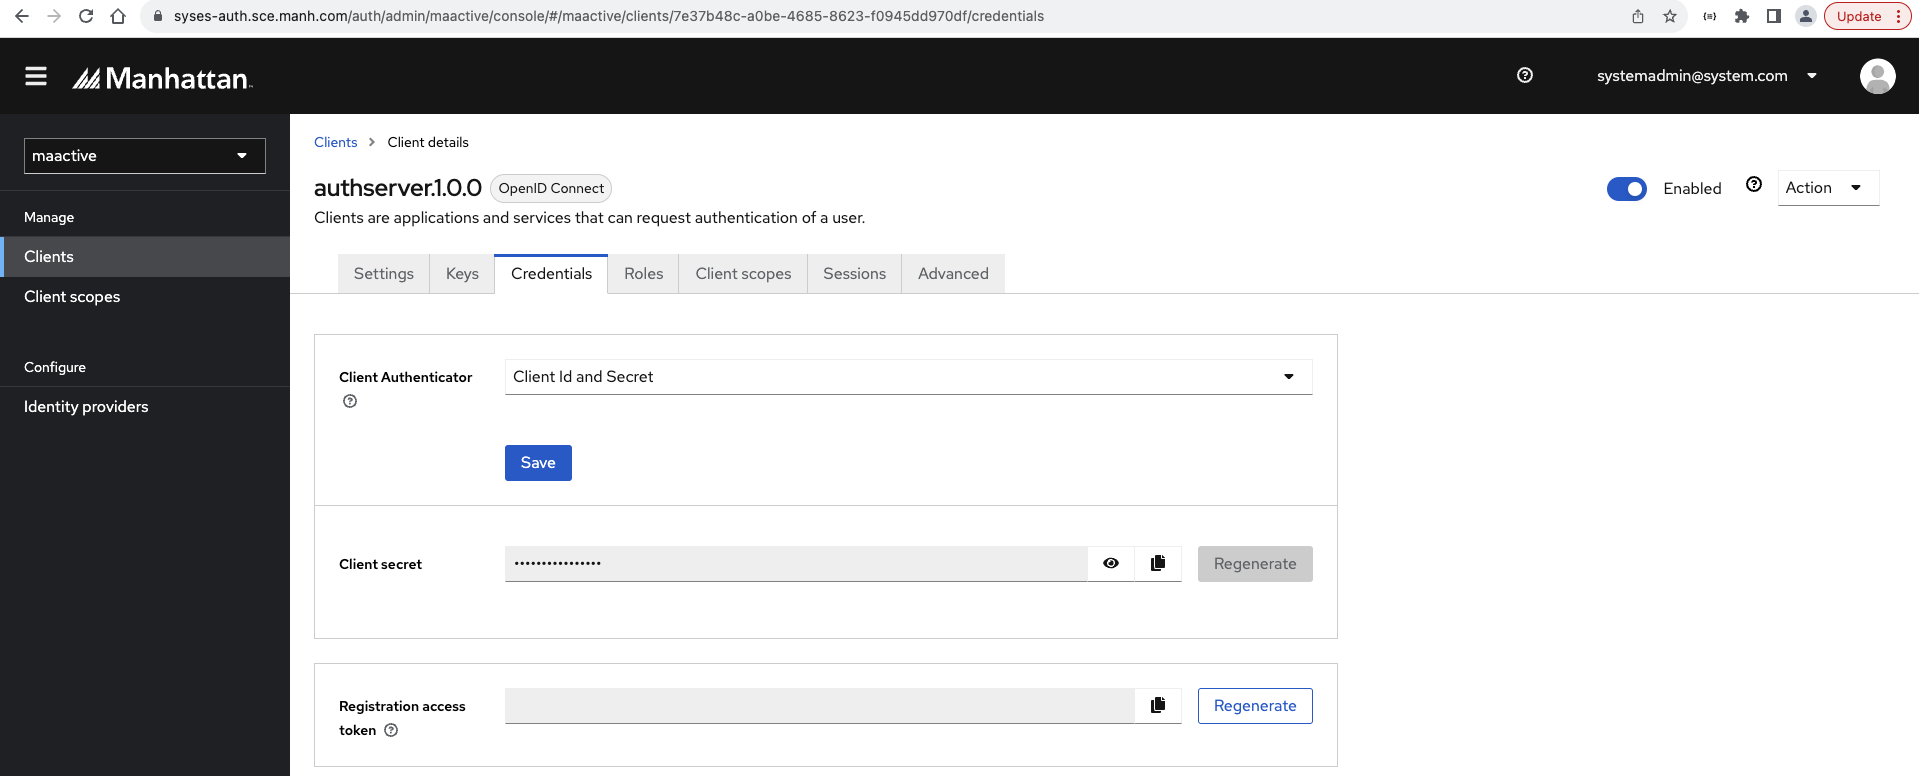
Note: In case you have a custom client that you might have created in Access Management 1.0, then you will see that this client should already be migrated to Access Management 2.0. In this case, you will only need to perform client secret updation activity for the same client in the Access Management 2.0 portal. If you have the client’s secret handy, then you can go to the Credentials tab of this client and update the credentials.
If you do not have the secret value, you can create a custom client following the below steps.
Steps
There are two ways to create a new OpenID Connect client. First way is simpler one using the REST API. The second one is creating it using AM 2.0 admininstration UI.
I. Creating client using REST API
Creating a custom client using this approach is much easier and a recommended approach. It does the standard configuration of a client and creates Manhattan specific custom user attributes that will be populated in JWT token for this particular client. In case you have additional configuration requirements in a custom client, please use this approach to create a new client and then login to the administration UI and edit the configurations further.
Below is an example of a REST API that will create a custom client with password and auth-code grant.
Request
POST https://<stack-name>-auth.<domain-name>/clients
Header Parameter
Basic Auth header
Content-Type: application/json
{
    "client_id": "testclient",
    "client_secret": "xxxxxx",
    "scope": ["openid", "testscope"],
    "authorized_grant_types": ["password", "authorization_code"],
    "redirect_uri": "https://www.getpostman.com/oauth2/callback",
    "access_token_validity": 1800
}
Note: access_token_validity is a number field indicating token expiry in seconds. i.e. a value of 1800 represents 30 minutes. Max allowed value is 24 hrs (1 Day).
Example Responses
🟢 Success:
HTTP Status: 200
Response Text: Client (testclient) created successfully under maactive realm.
🔴 Error:
HTTP Status: 401: Authentication Failure. Make a request using valid token in authorisation header.
HTTP Status: 403: Authorization Failure. Access token being used in Authorisation header should belong to a user having SystemAdministrator or KeycloakAdministrator role in Org DB.
HTTP Status: 400: Bad request/Validation error
HTTP Status: 500: Internal Server Error
Response Text: Client (testclient) creation failed.
II. Creating client using the AM 2.0 admininstration UI
Under the Manage menu, click on Clients.
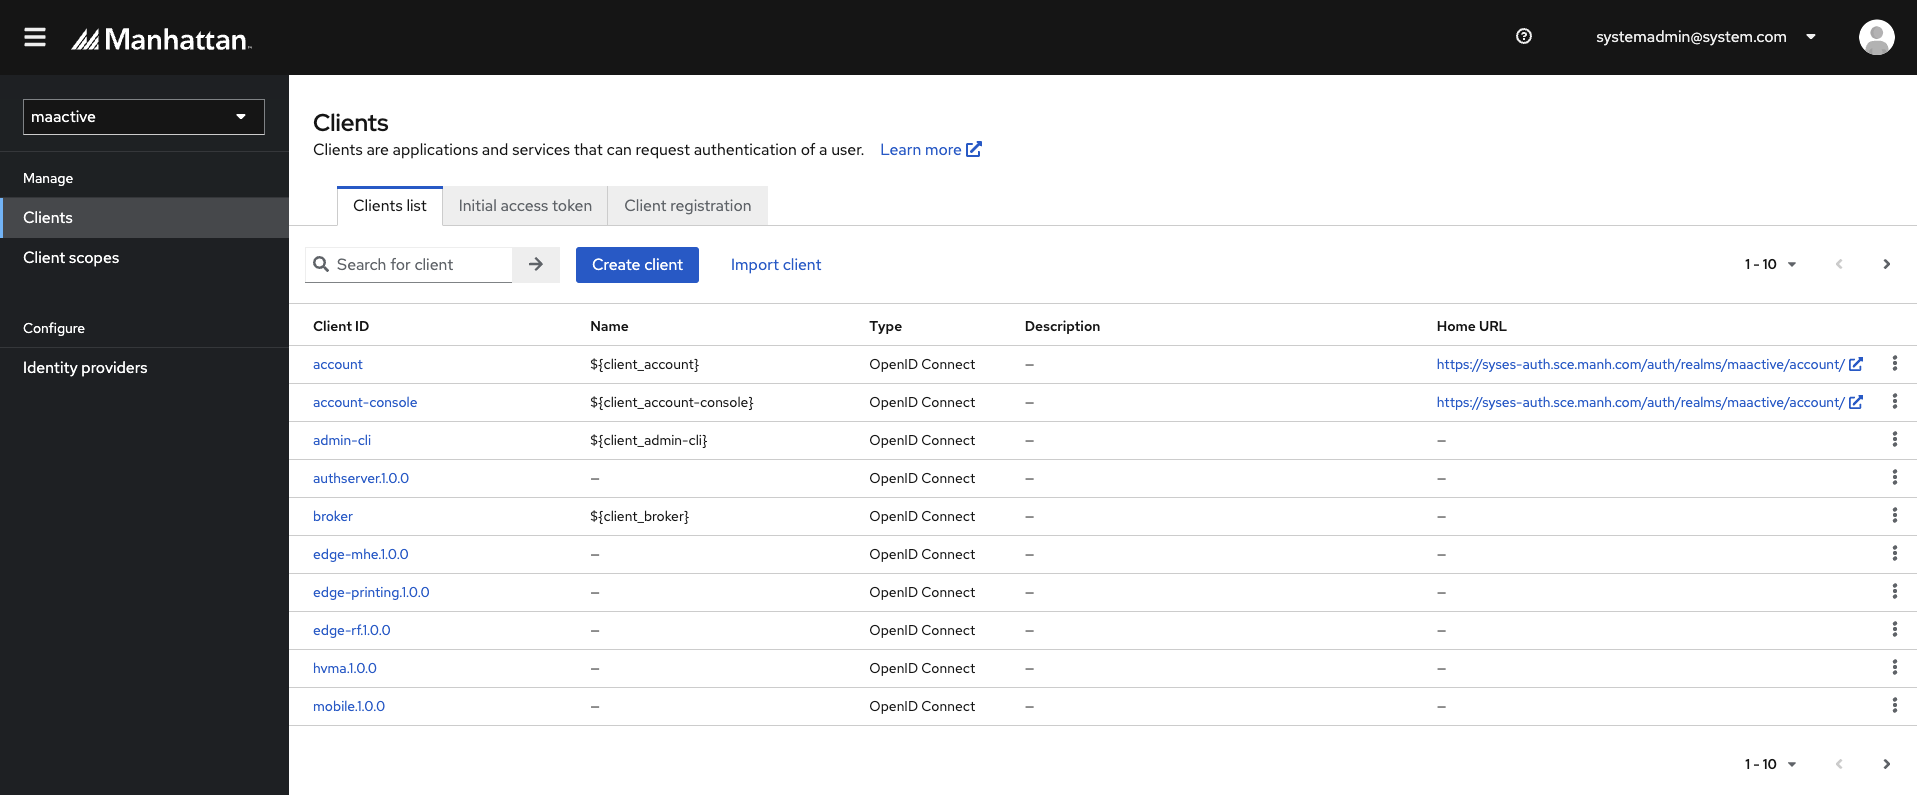
Click on Create client.
Under General Settings, leave the Client type set to OpenID Connect
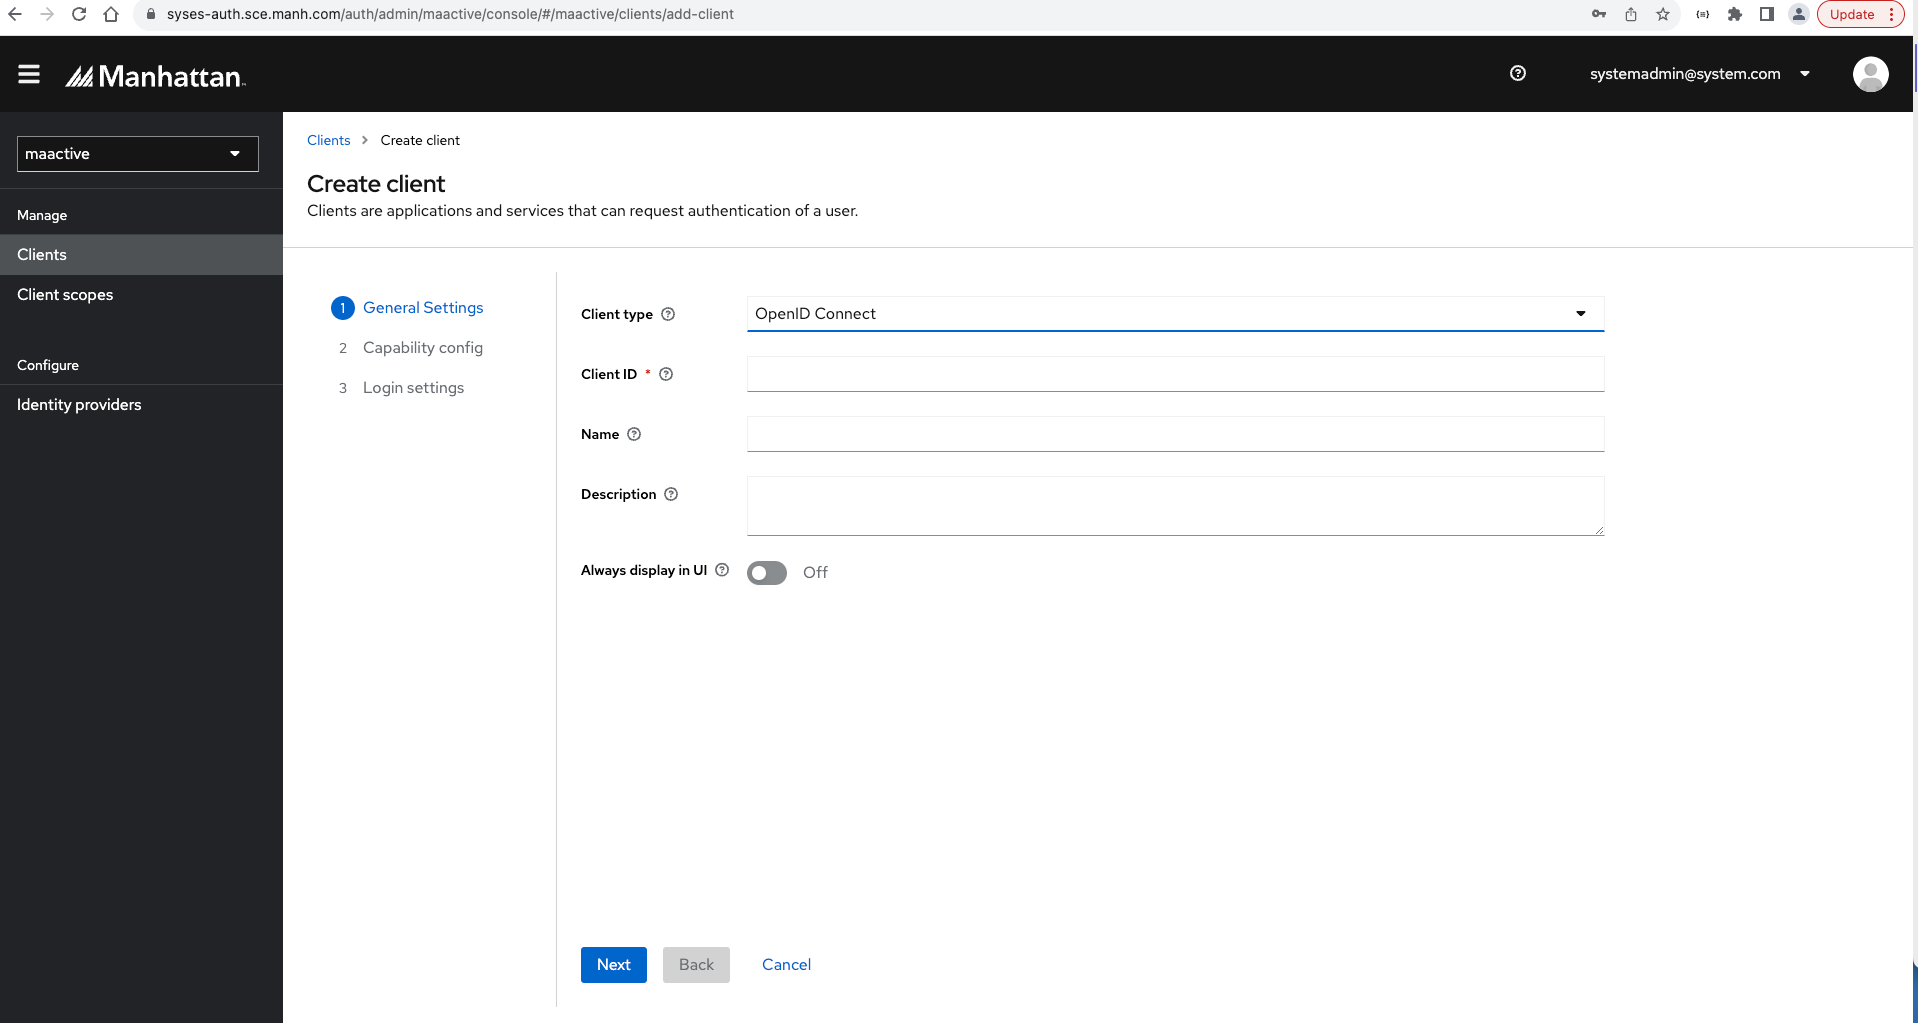
Enter a Client ID
This is an alphanumeric string that specifies ID reference in URI and tokens.Enter a Name for this client.
Specify the display name of this client.You can optionally give a description of this client in the Description field.
Click on Save. This action will create a client for you.
Next, under Capability config, we have a toggle button to enable/disable Client authentication. This setting depends on the type of OIDC you would like to create.
Select ON if the server-side clients perform browser logins and require client secrets when requesting for an Access Token.
Select OFF if the client-side clients perform browser logins where secrets cannot be kept safe.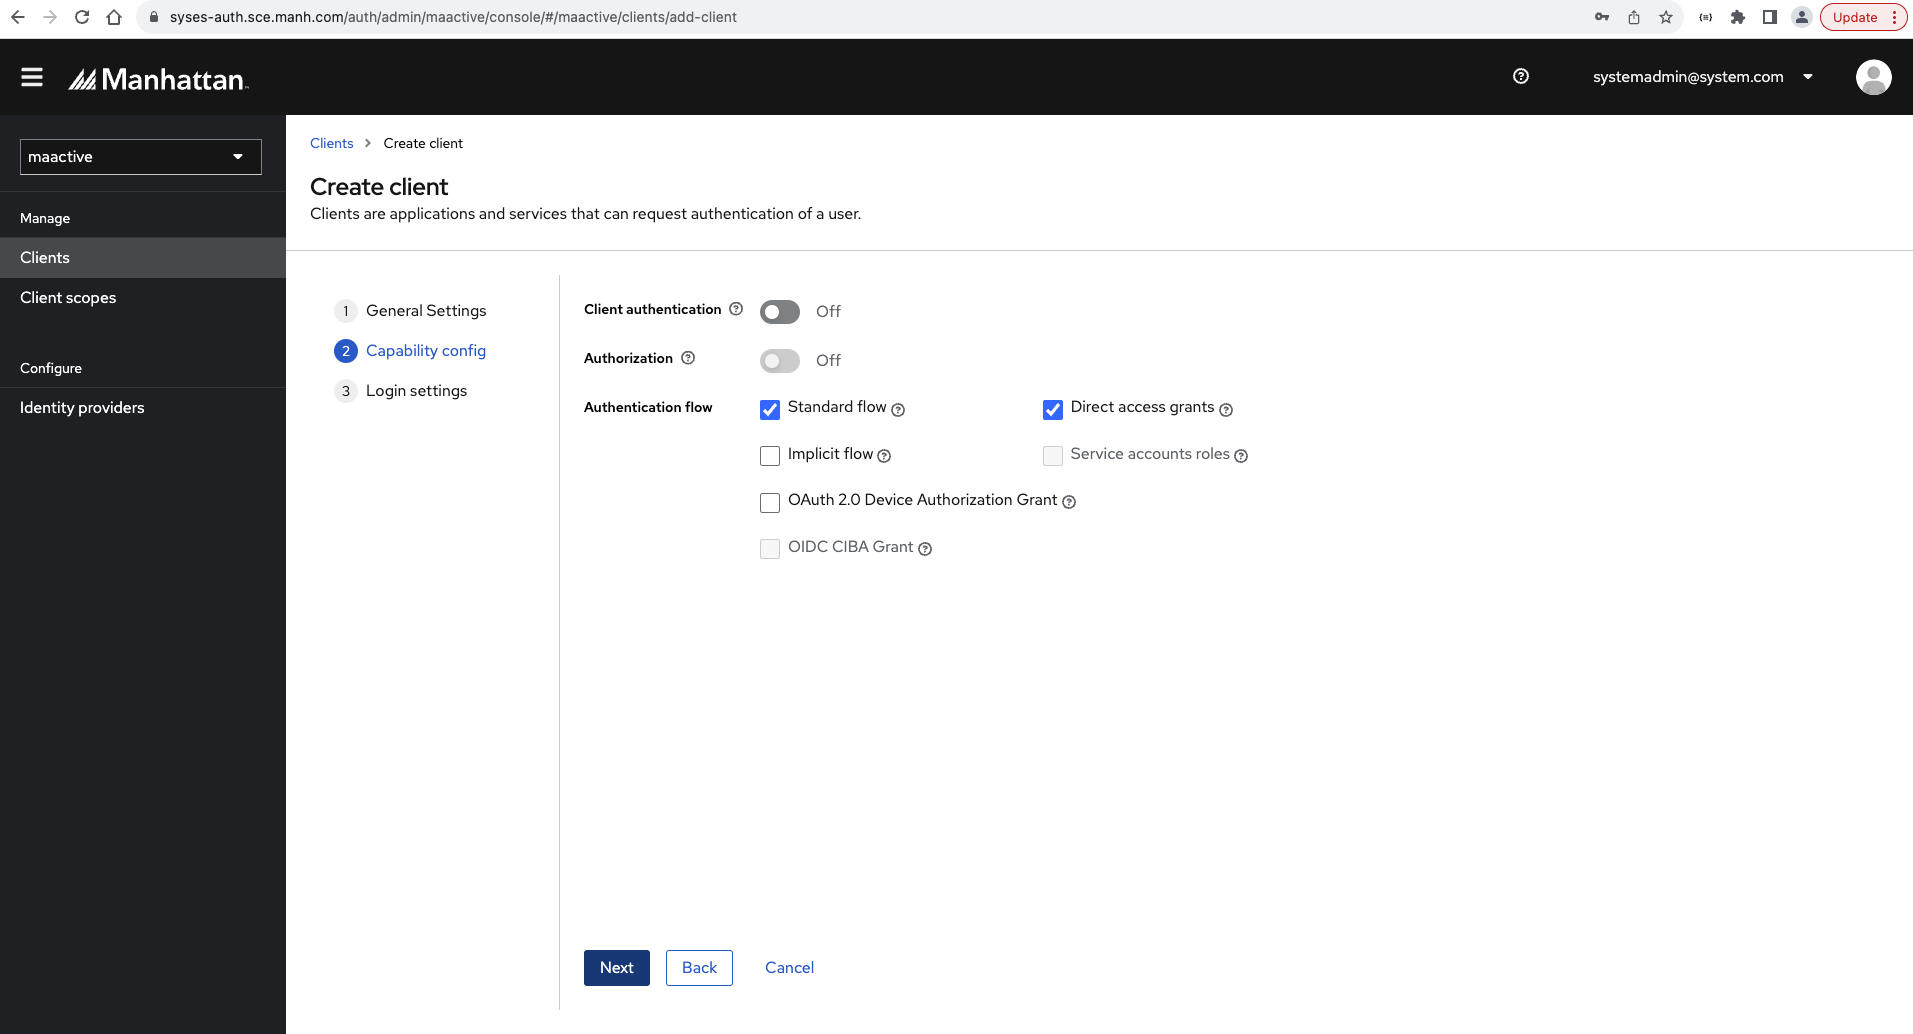
Select Authentication flow as needed. Hover over the question mark ? icon to show a tooltip text that describes which AM 2.0 Authentication Flow Maps to which OAuth2 Grant Type.
Click on Next.
Enter the Valid redirect URIs as needed.
This is the place where the browser redirects after a successful login.
NOTE: If you want to use Postman to get an access token using this client for Authorization Code Grant, configure this URL in the Valid redirect URI field - https://www.getpostman.com/oauth2/callback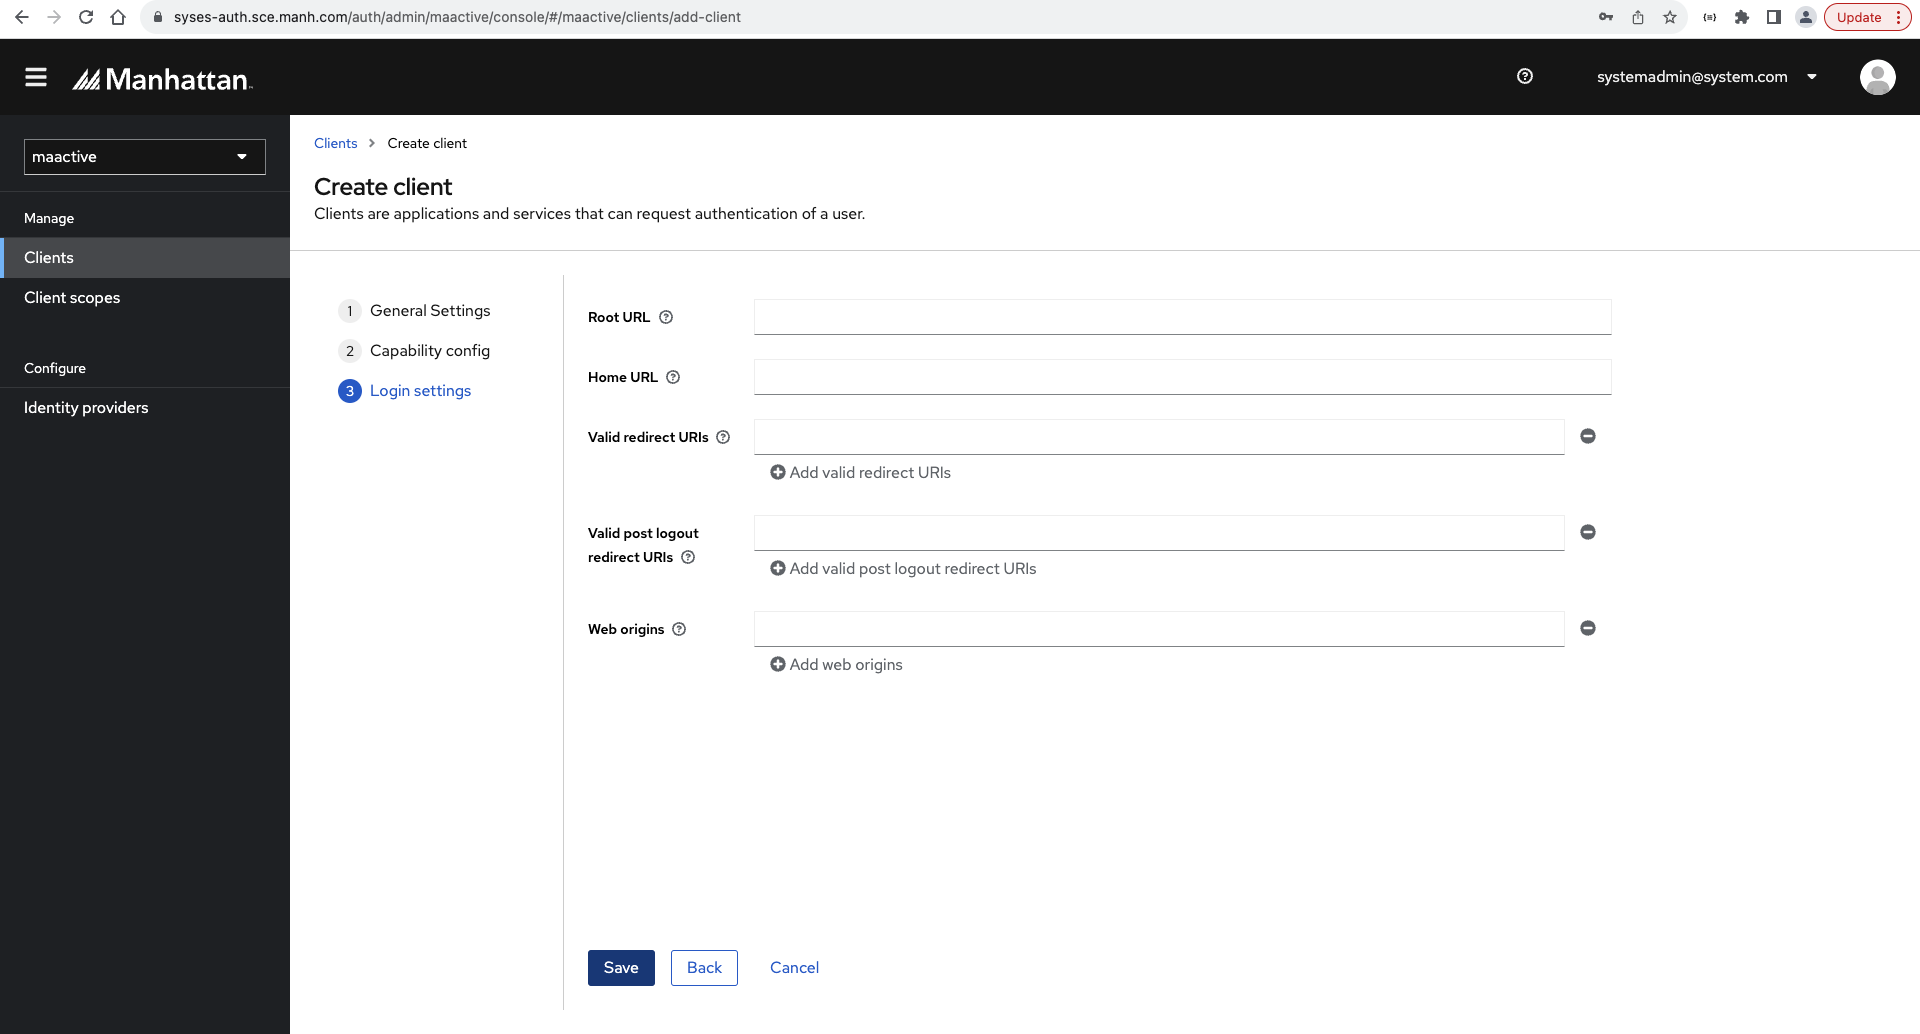
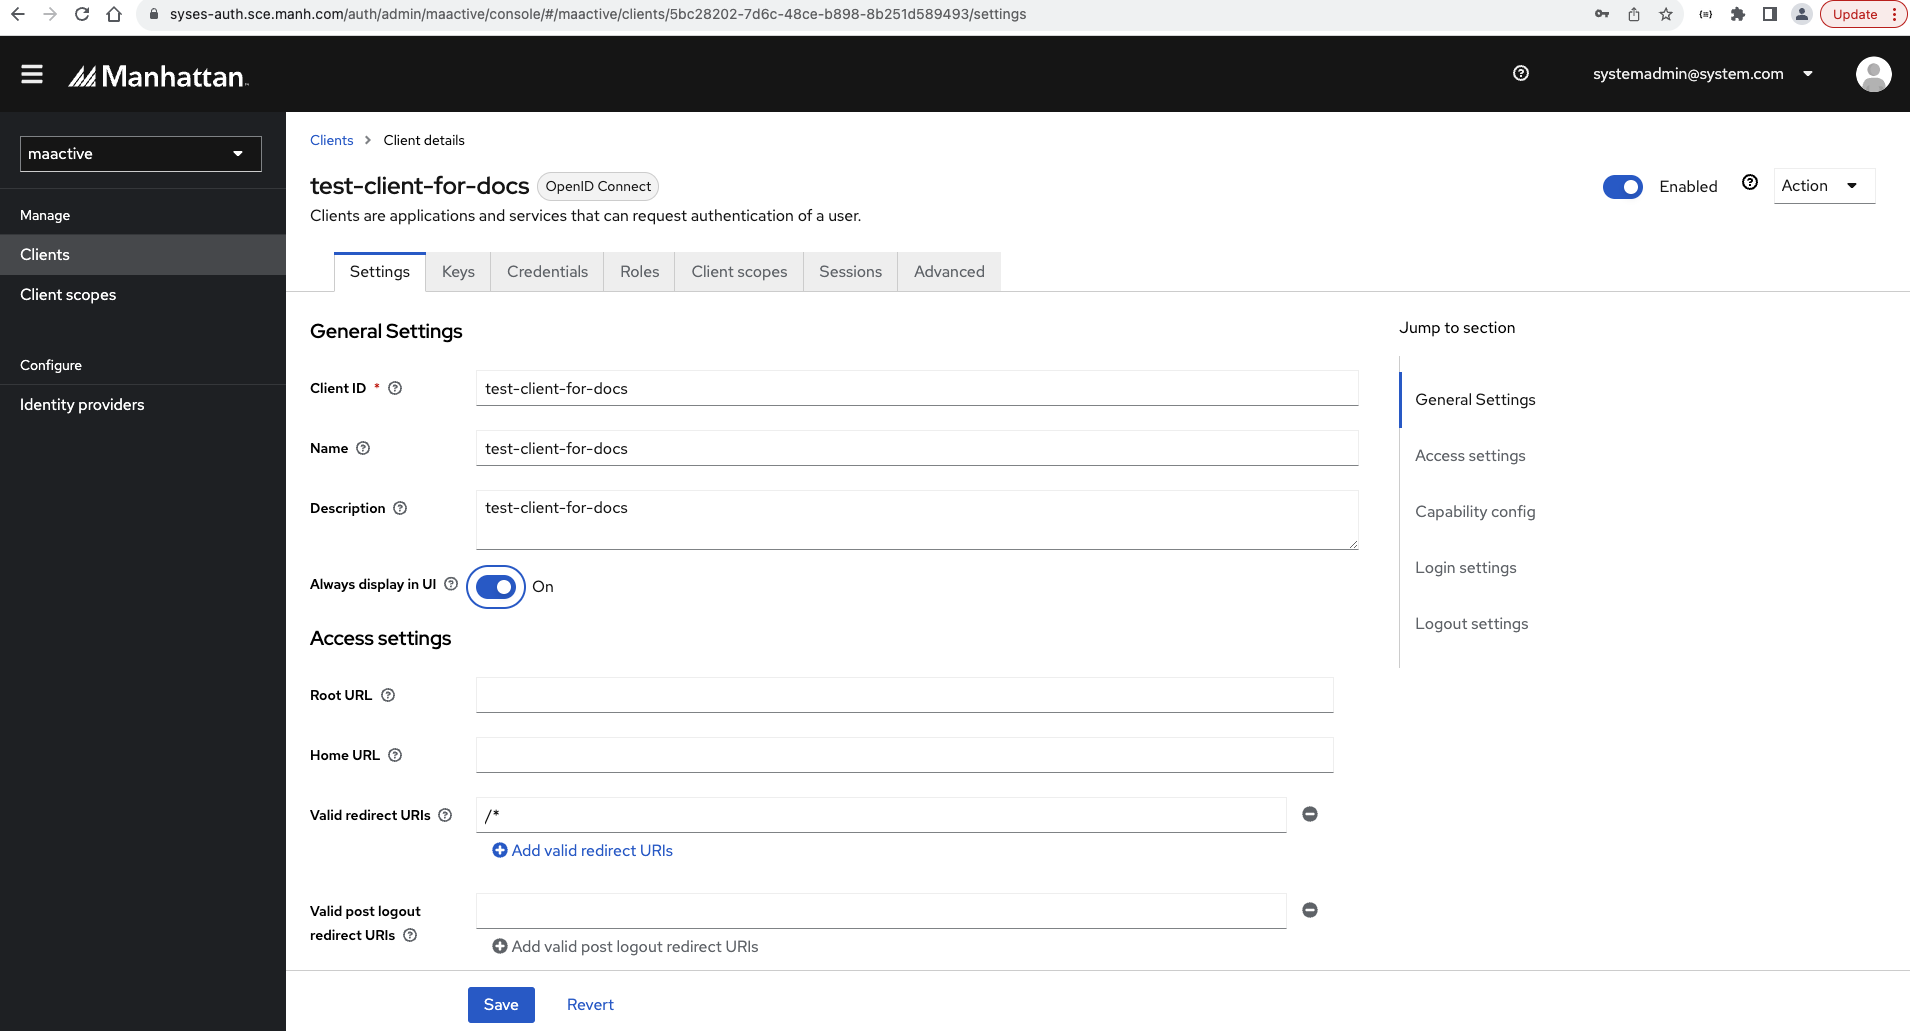
You will be redirected to the basic client configuration page. You can review or modify any other details needed on this page.
In case the Client Authentication was set to true in step 8, you will see a Credentials tab. Click on it. Take note of the Client Secret to be used during the authentication of this created client against AM 2.0.
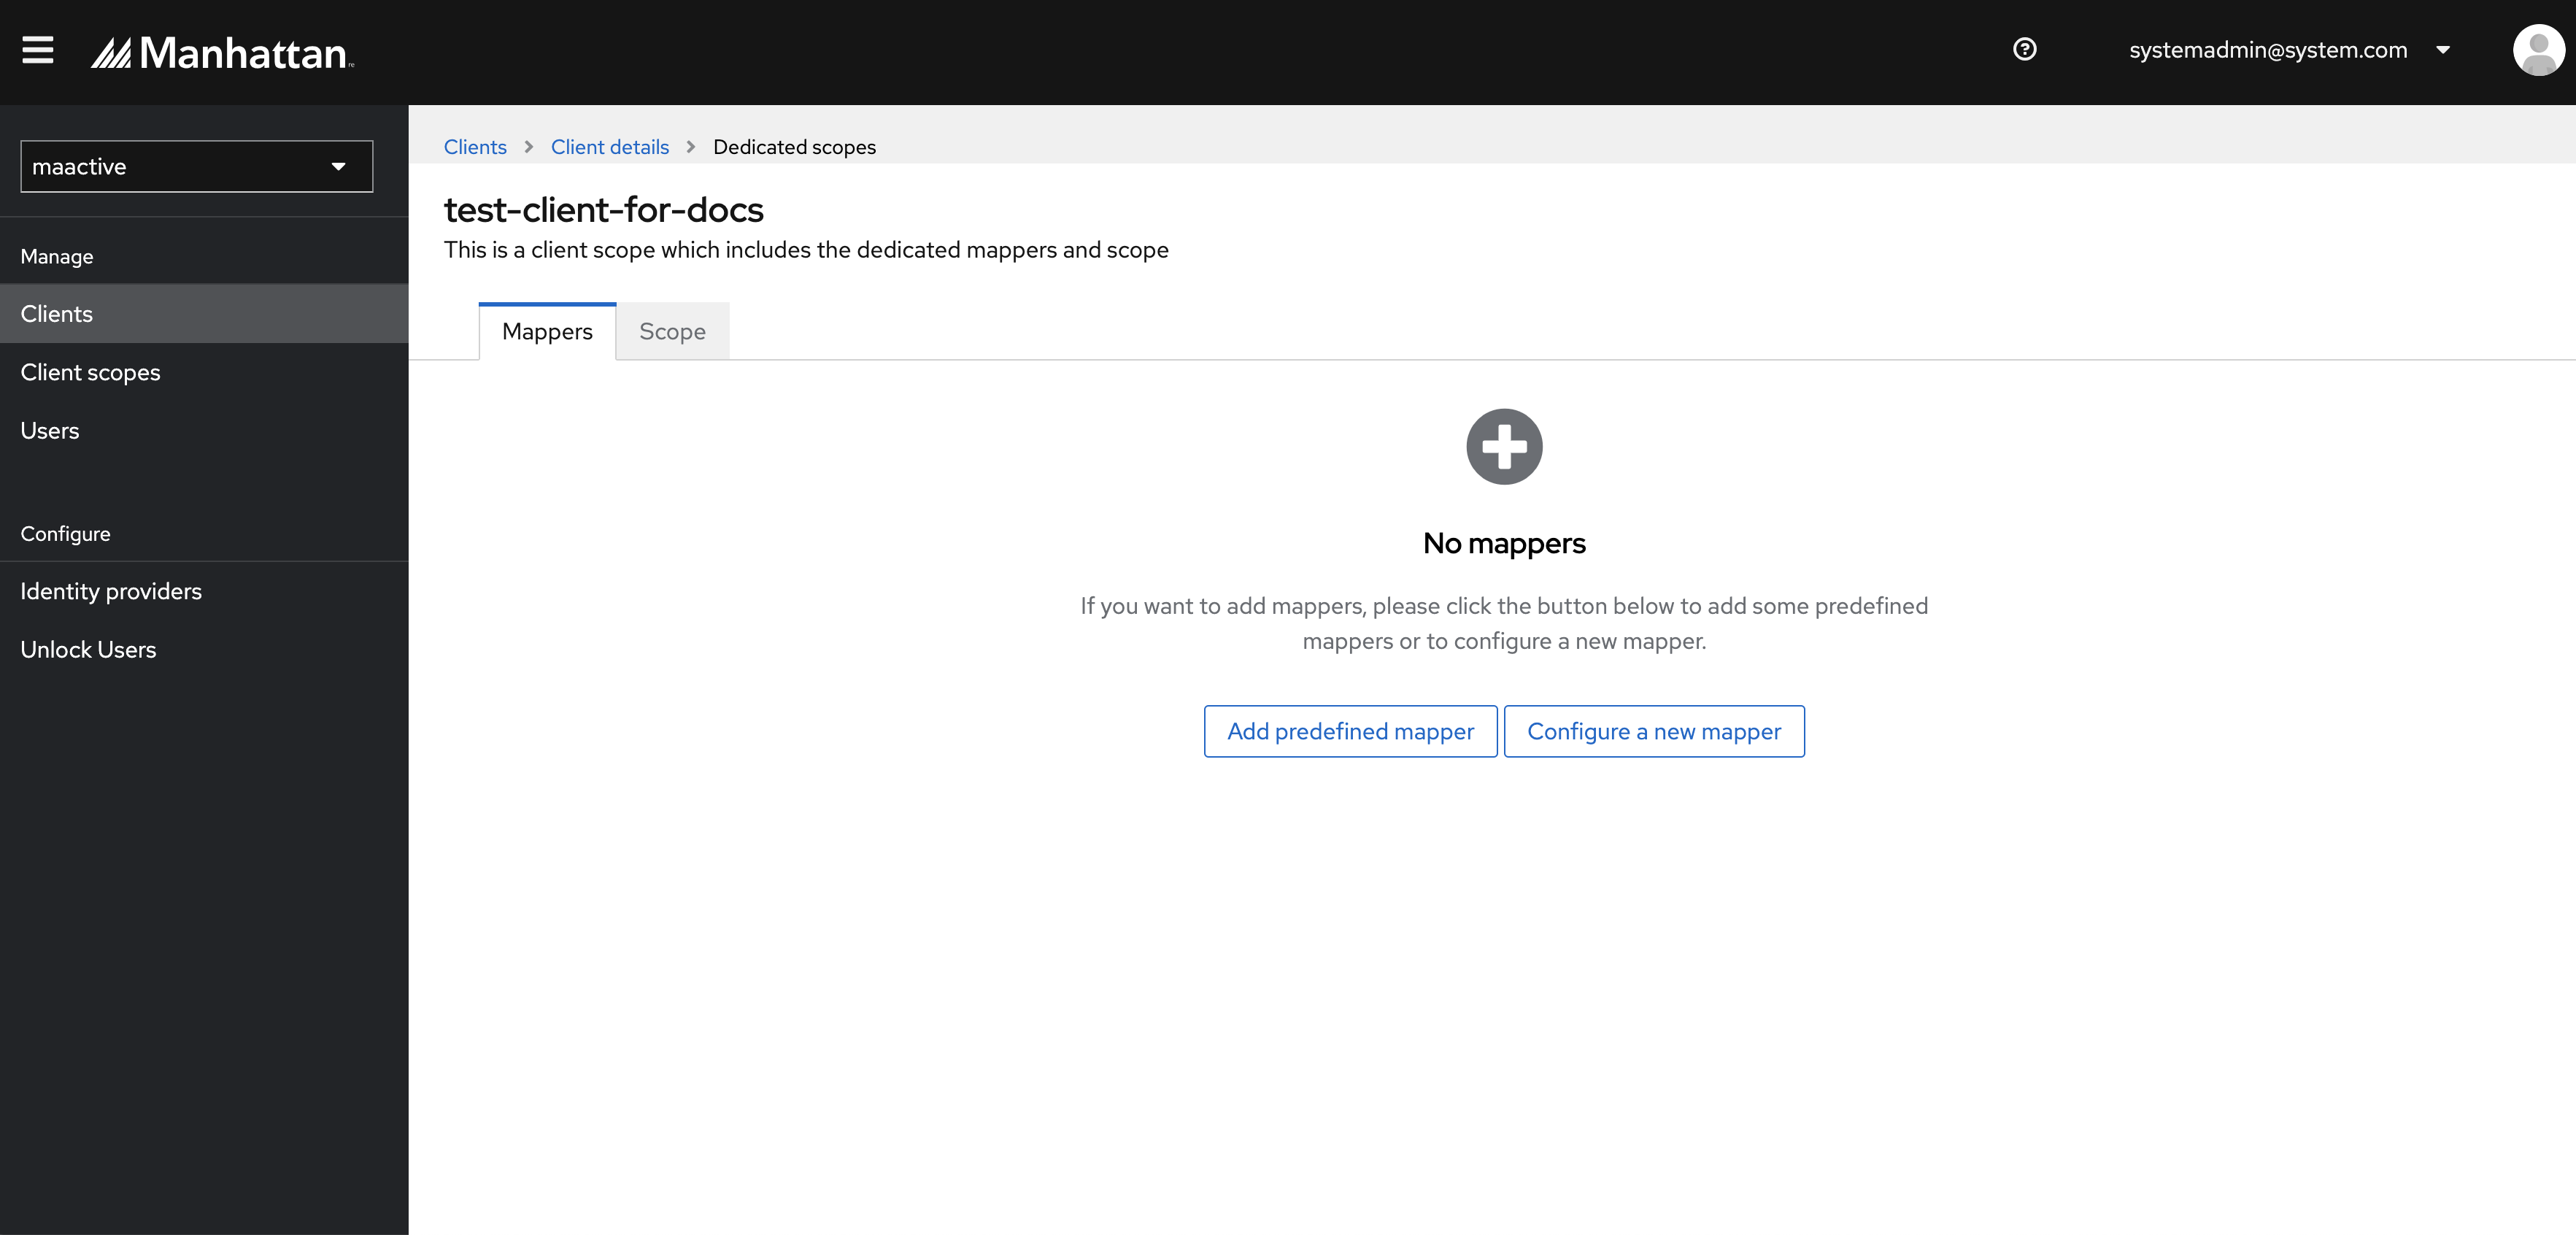
The next step is to add claims that will be sent as part of the access token, or to be returned during the user info endpoint call. Go to the Client scopes tab. A dedicated scope will be automatically created for this client. Click on this scope.
This scope will initially be empty. Here is where we need to add the user attributes. Click on Configure a new mapper.
From this list of mappings, select the User Attribute mapper.
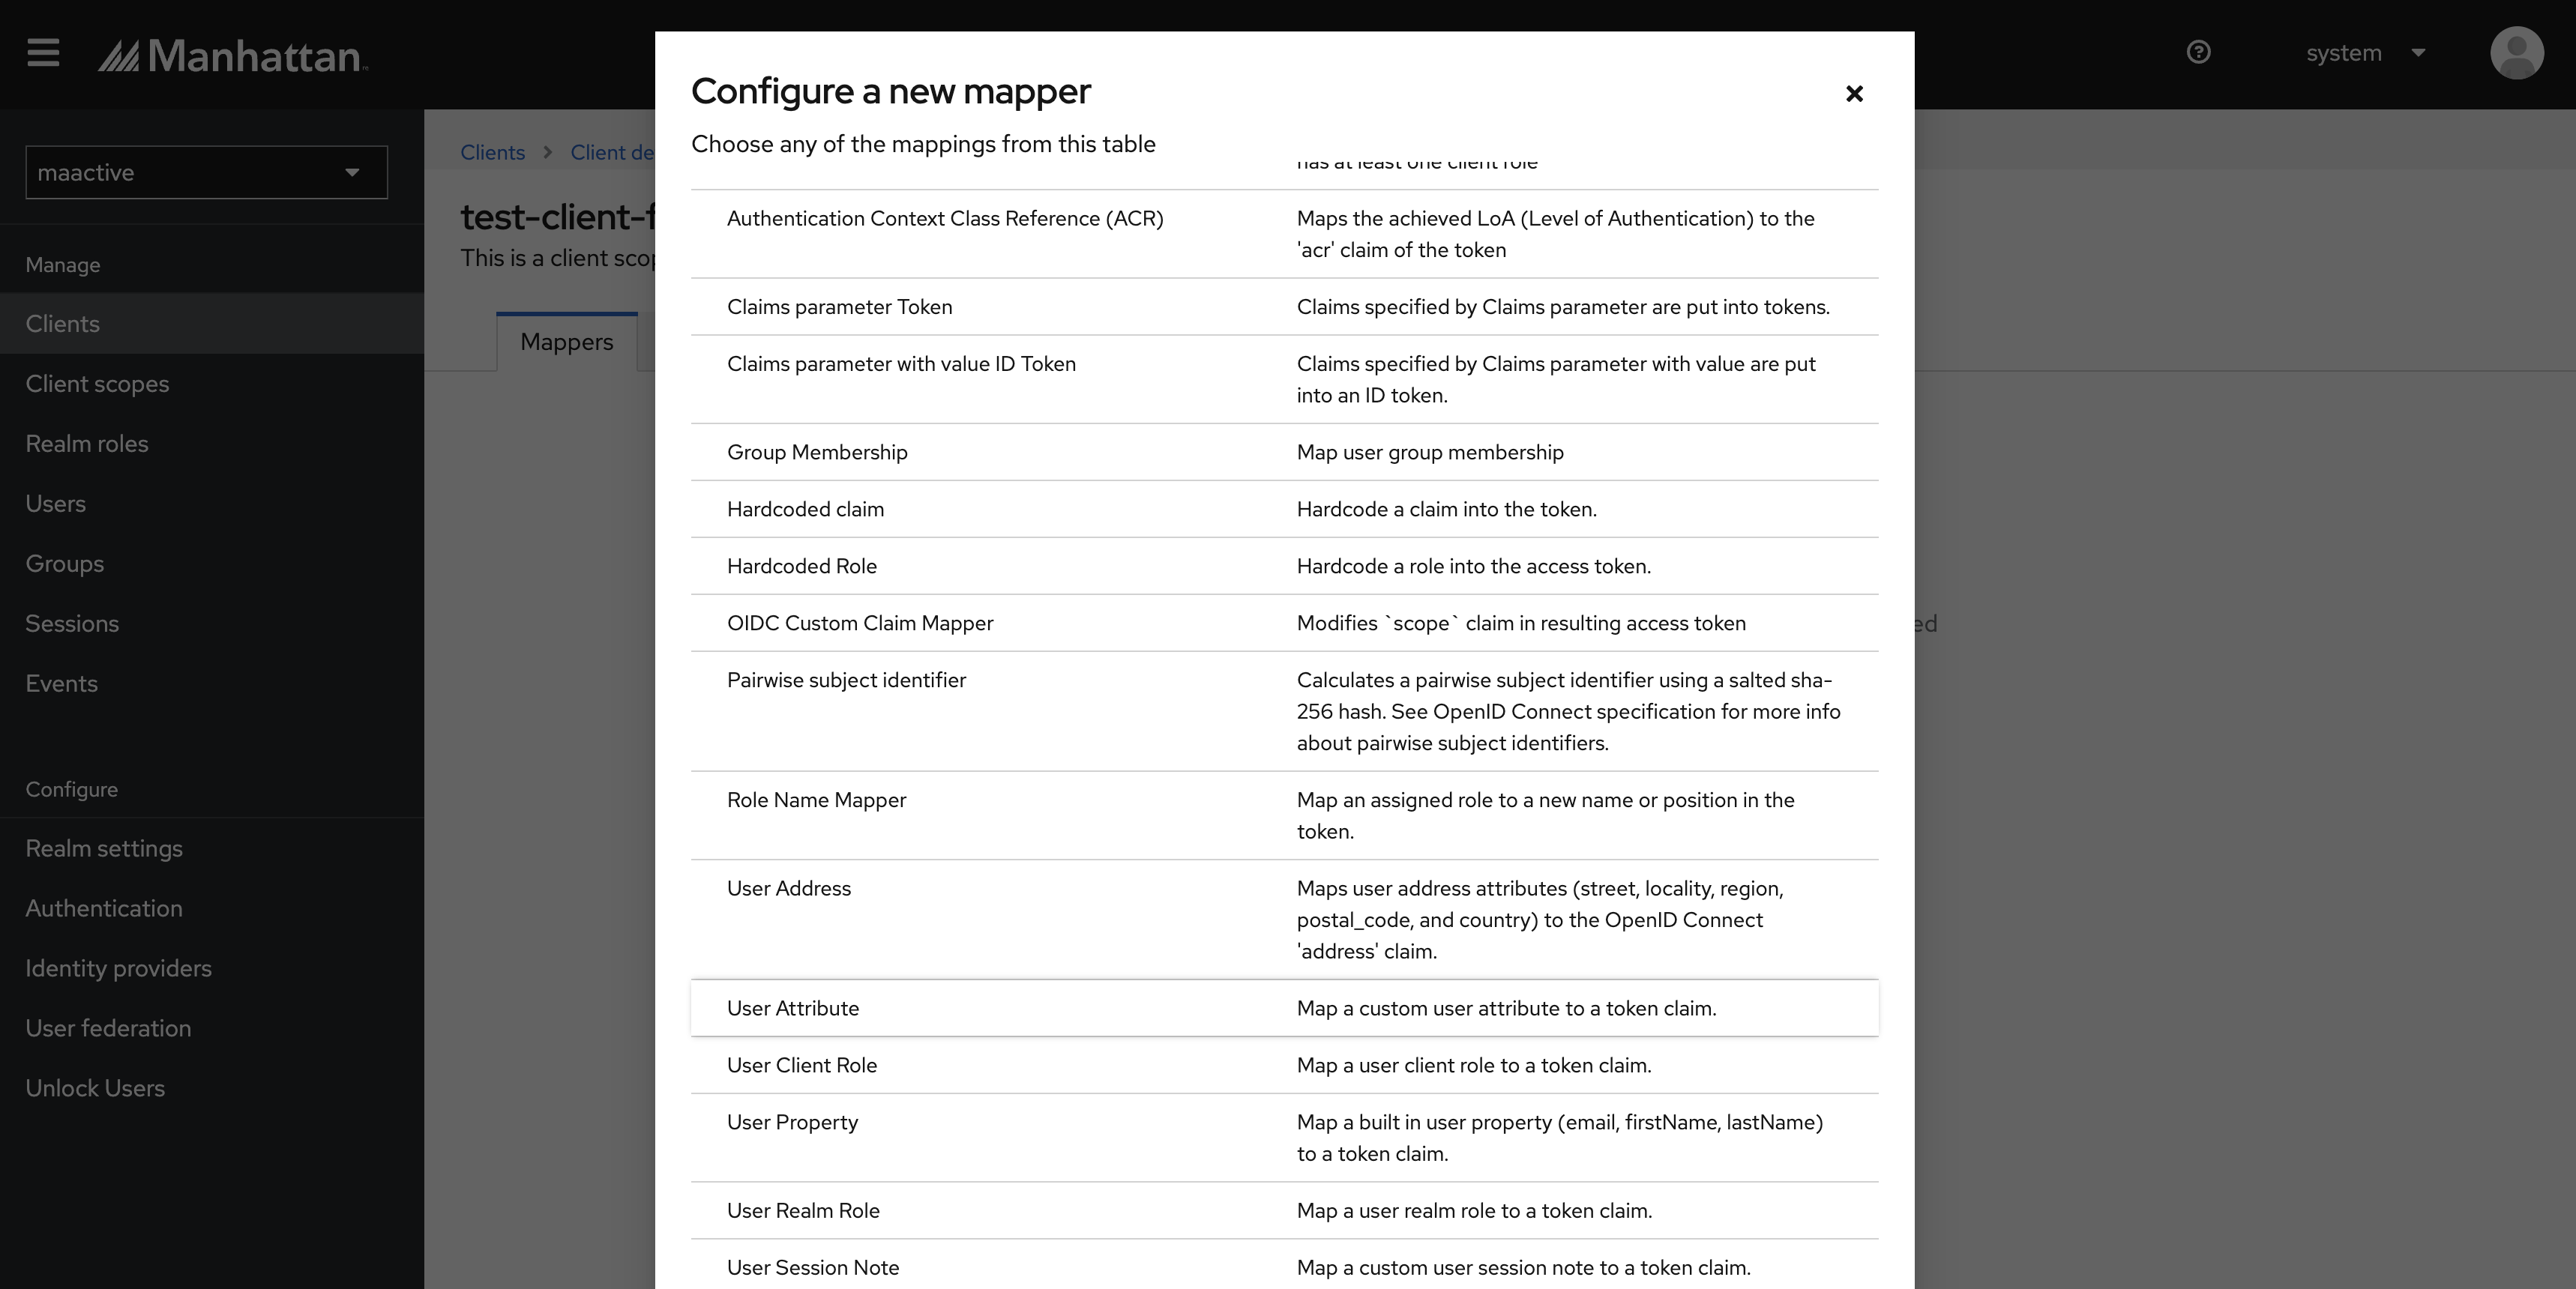
In this example, we will see how to configure the “sub” attribute.
Enter Name as sub.
Enter User Attribute as sub.
Enter Token Name Claim as sub.
Select Claim JSON Type as String.
Toggle ON Add to access token.
Hit Save.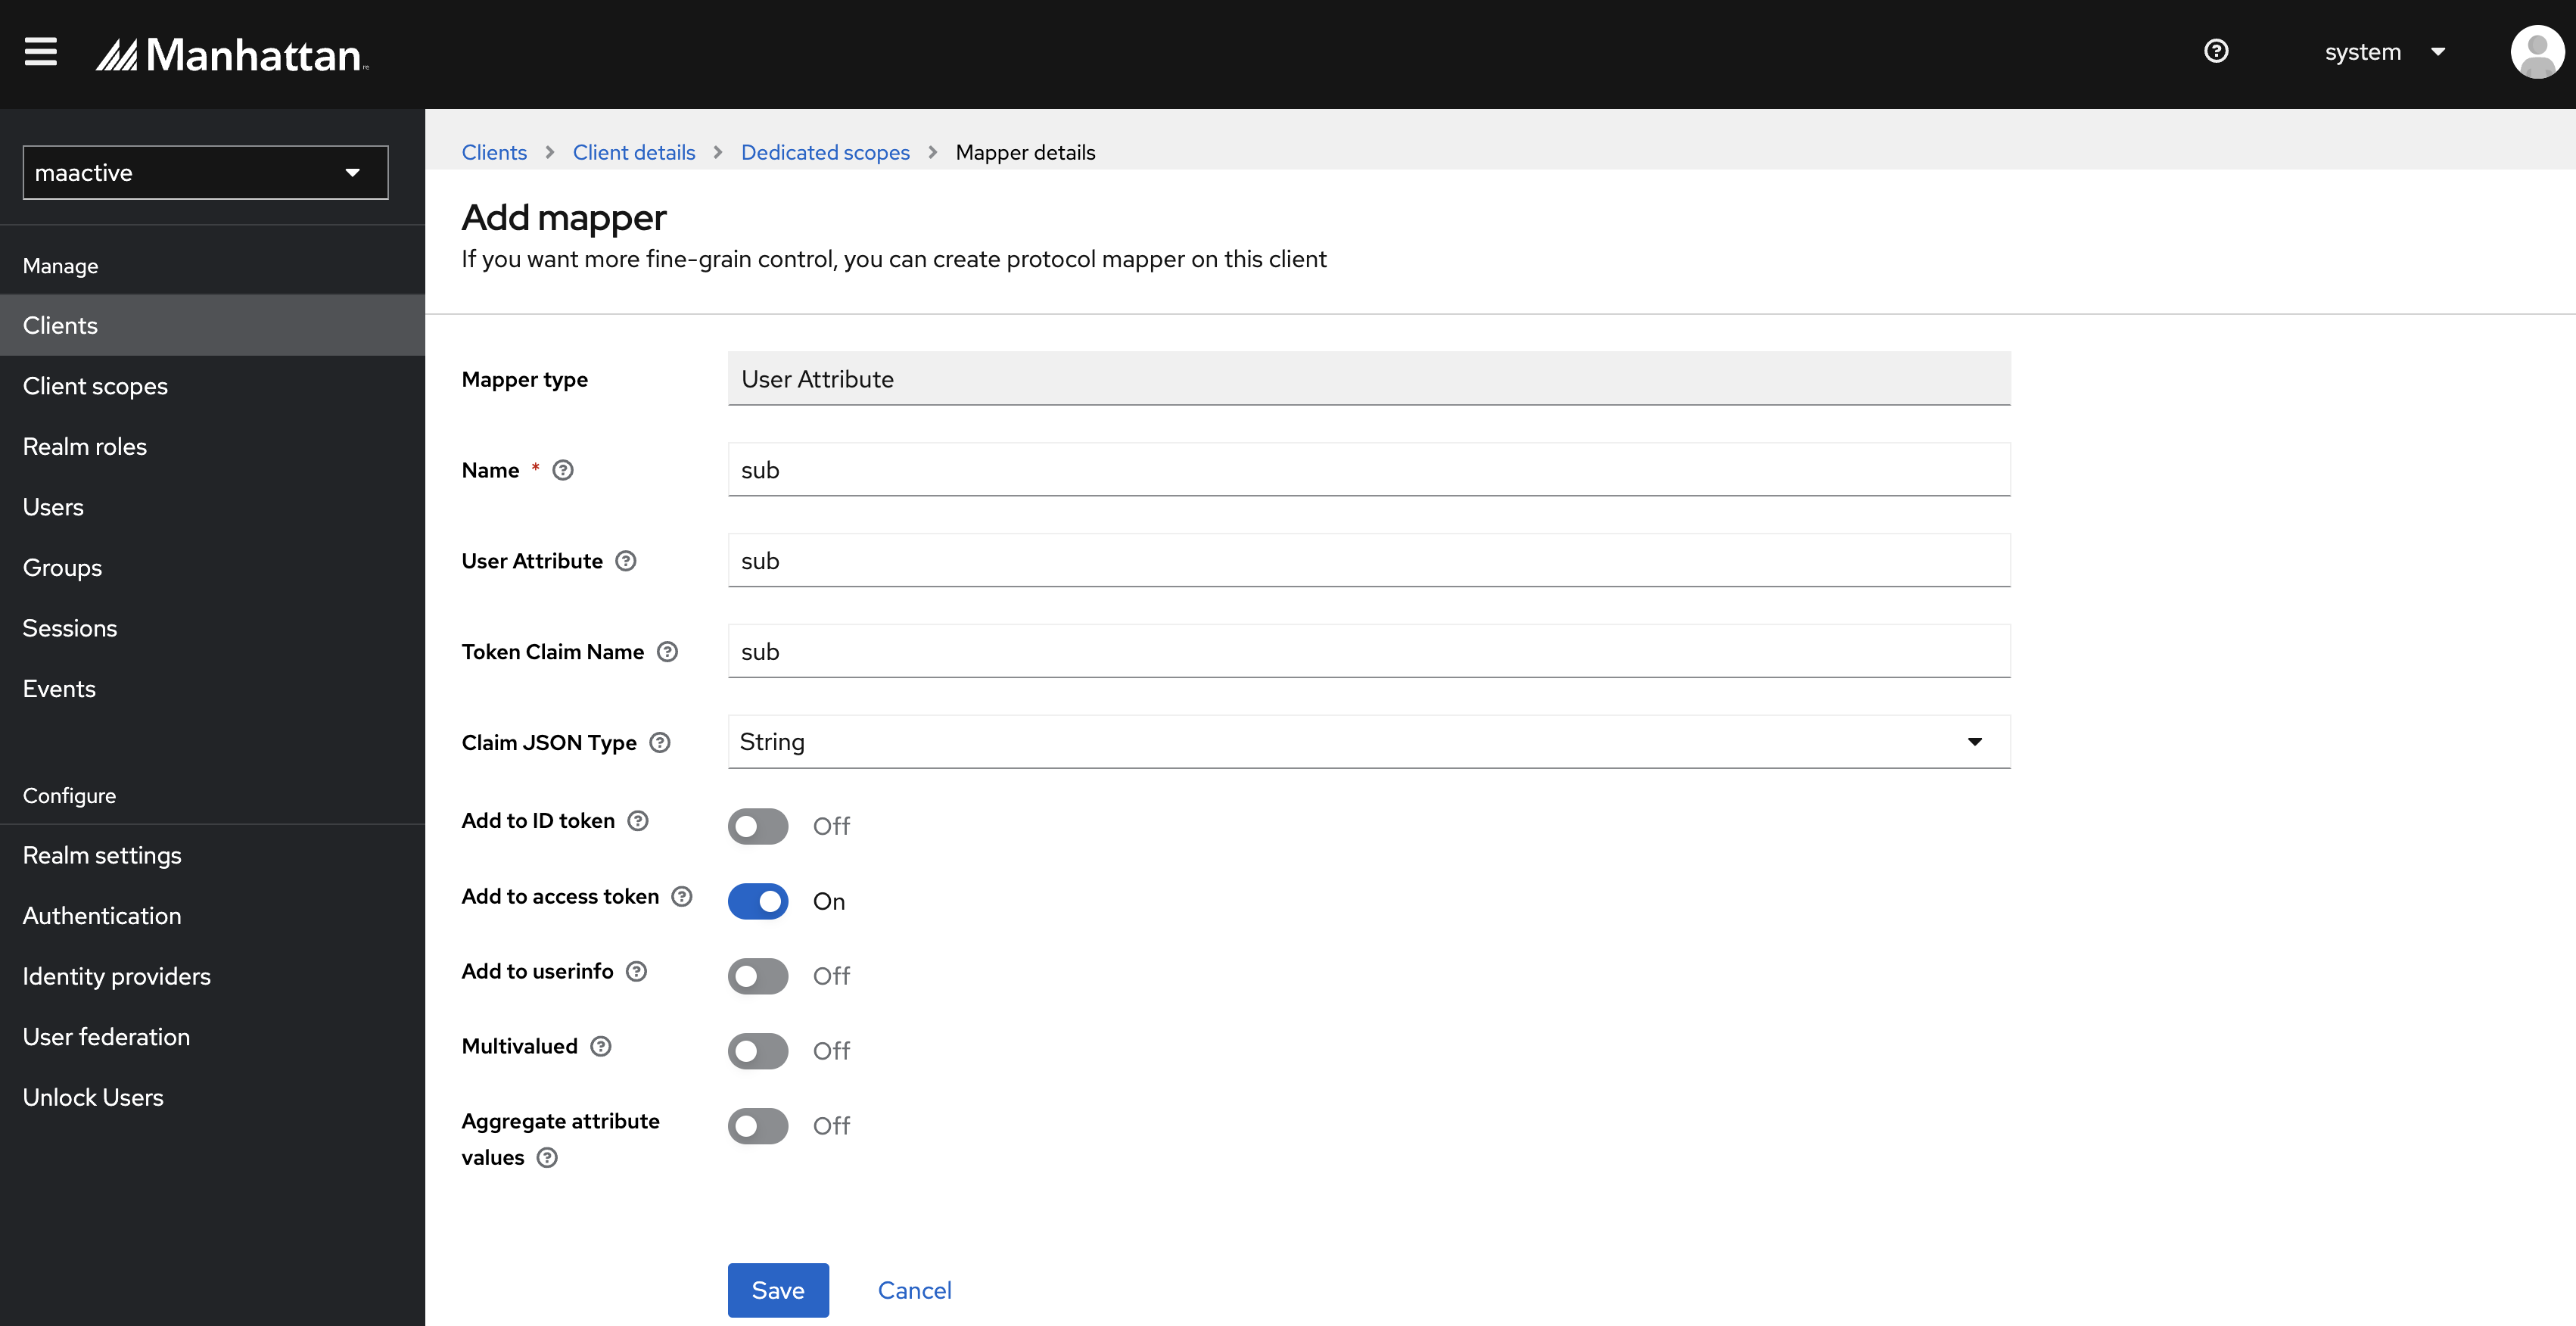
We can see that the sub claim is now added to this client’s dedicated scope.
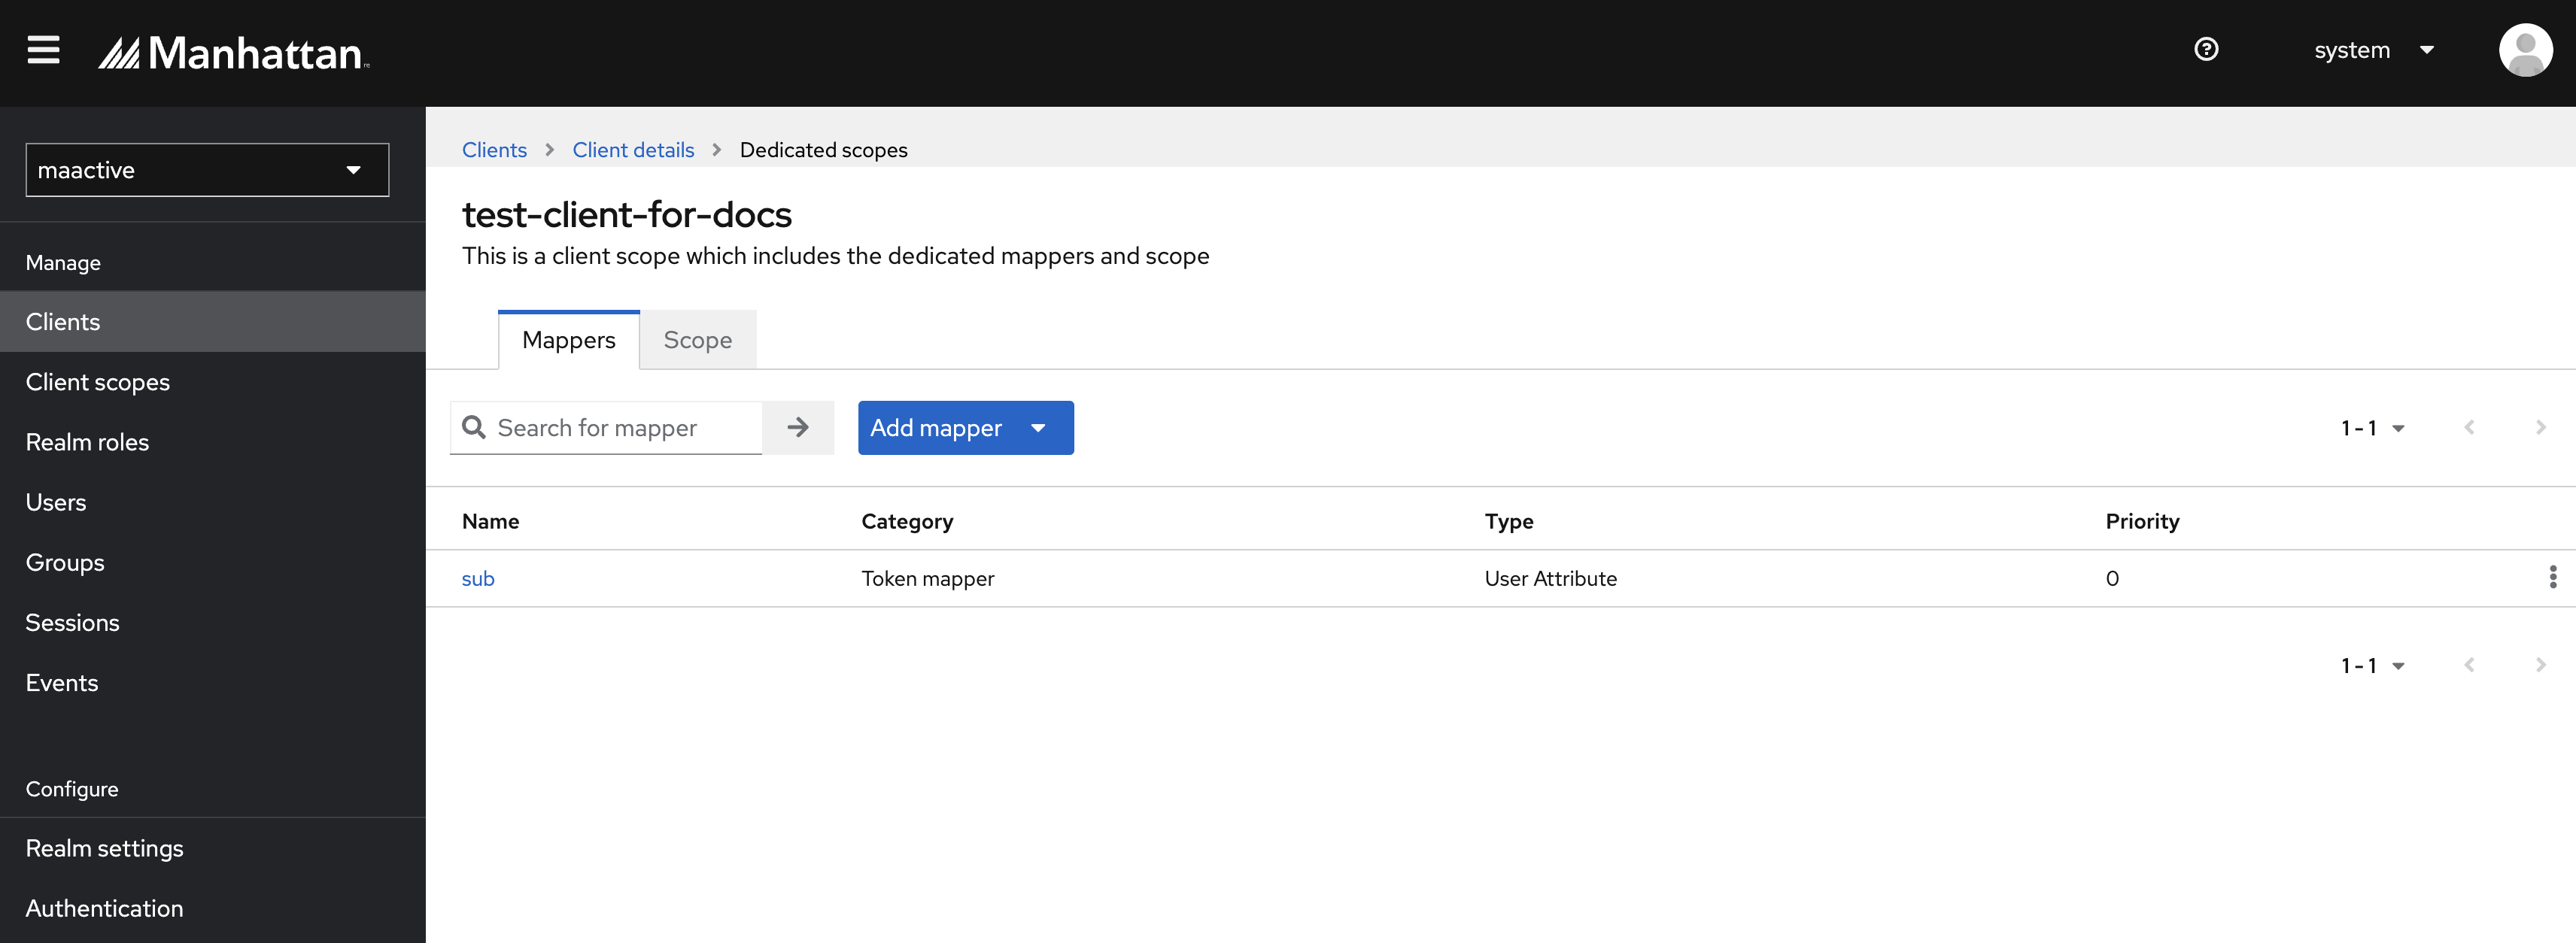
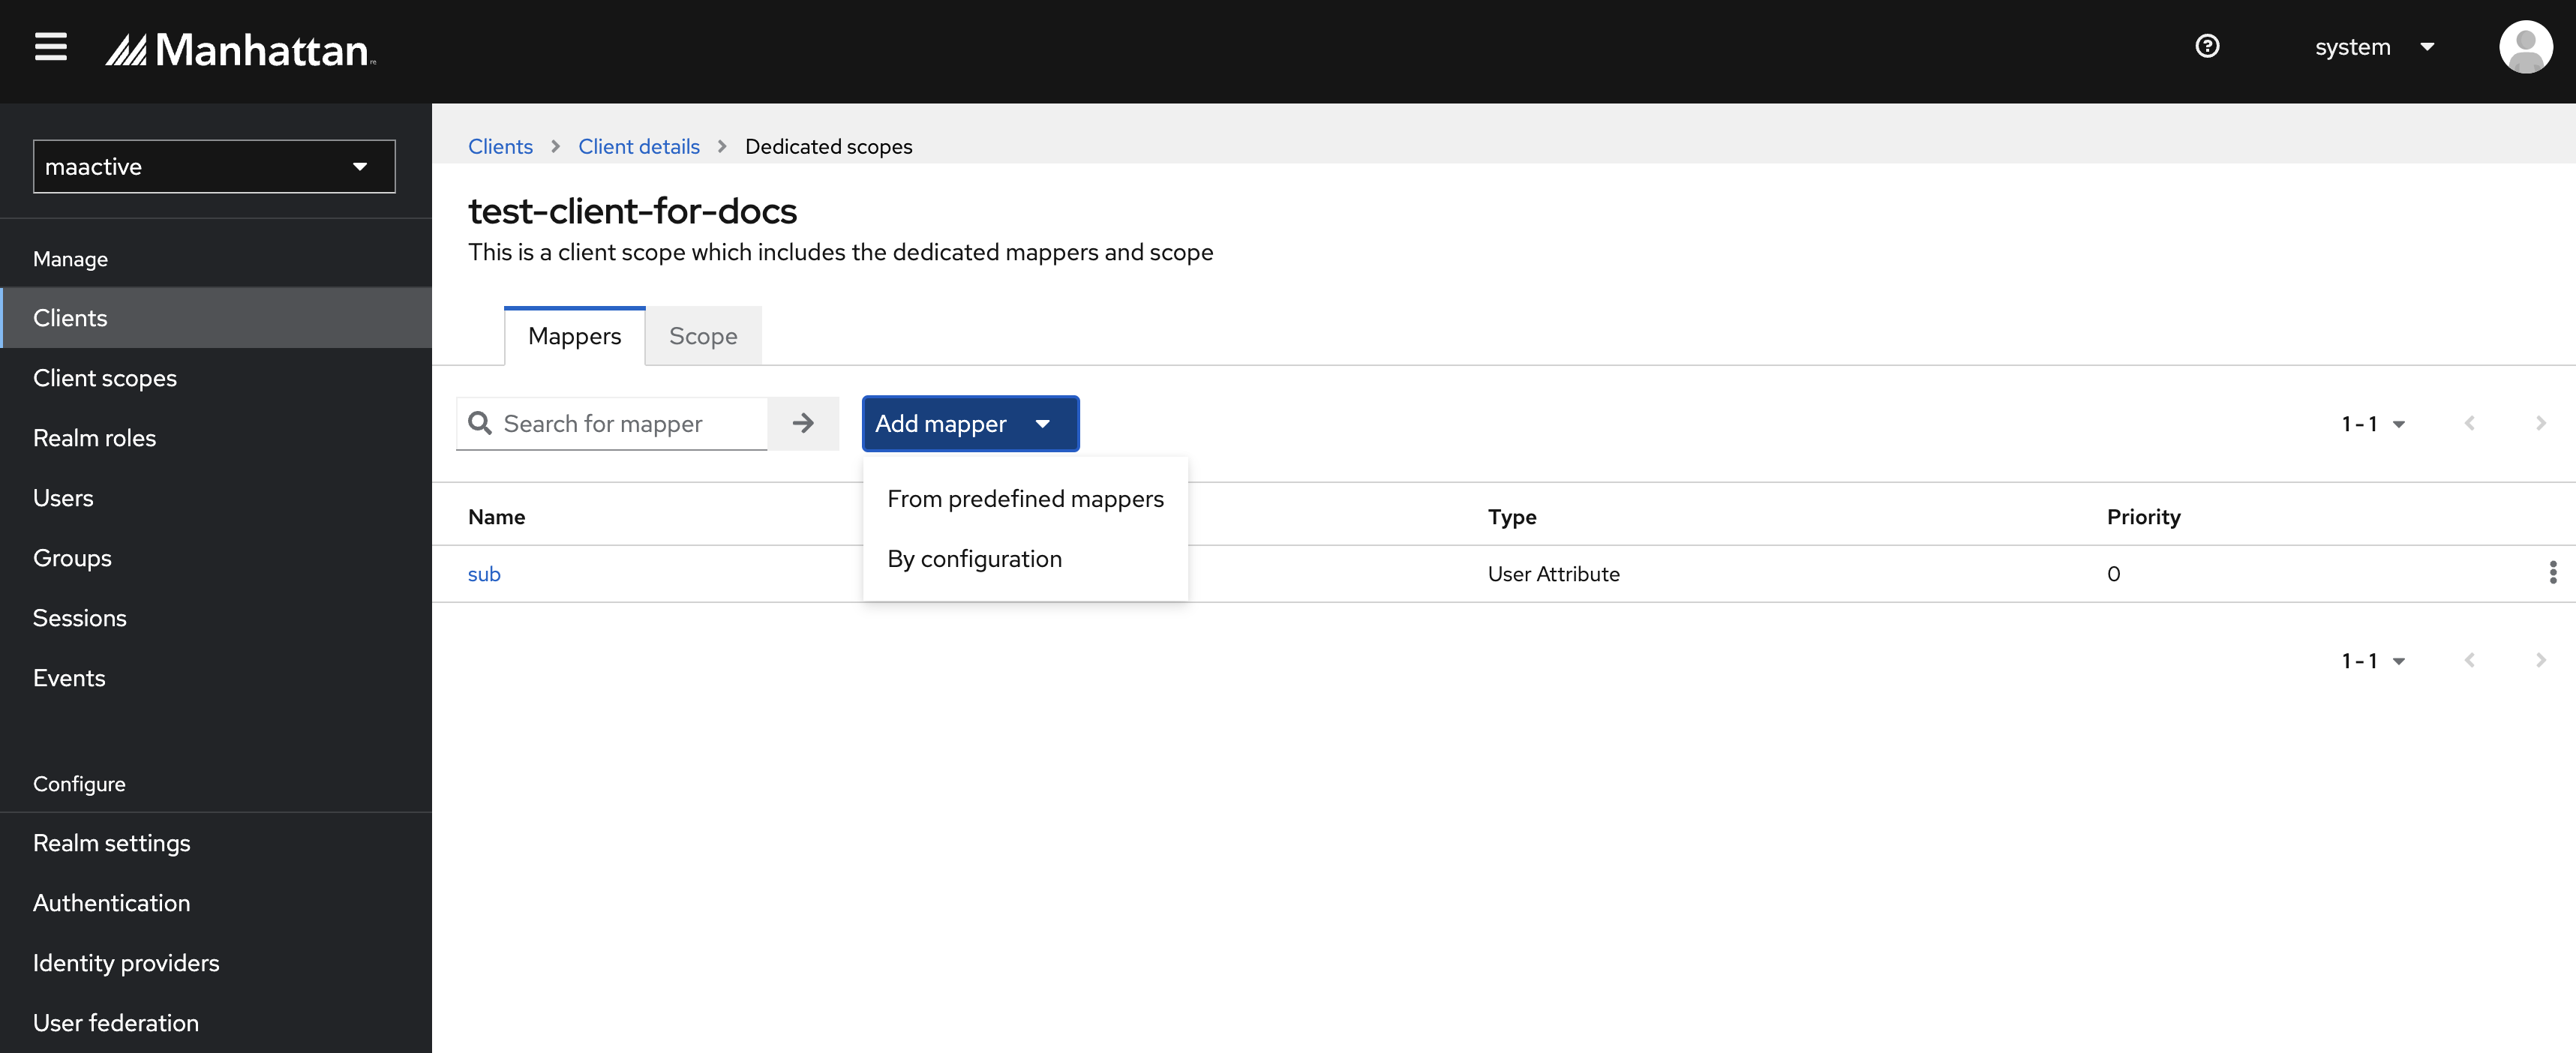
Similarly, you can add other claims as per application requirements. To add another claim, click the Add Mapper dropdown and select the By configuration option.
Repeat the same steps from 16-18 to map all the attributes (similar to sub attribute) as listed in the table below.
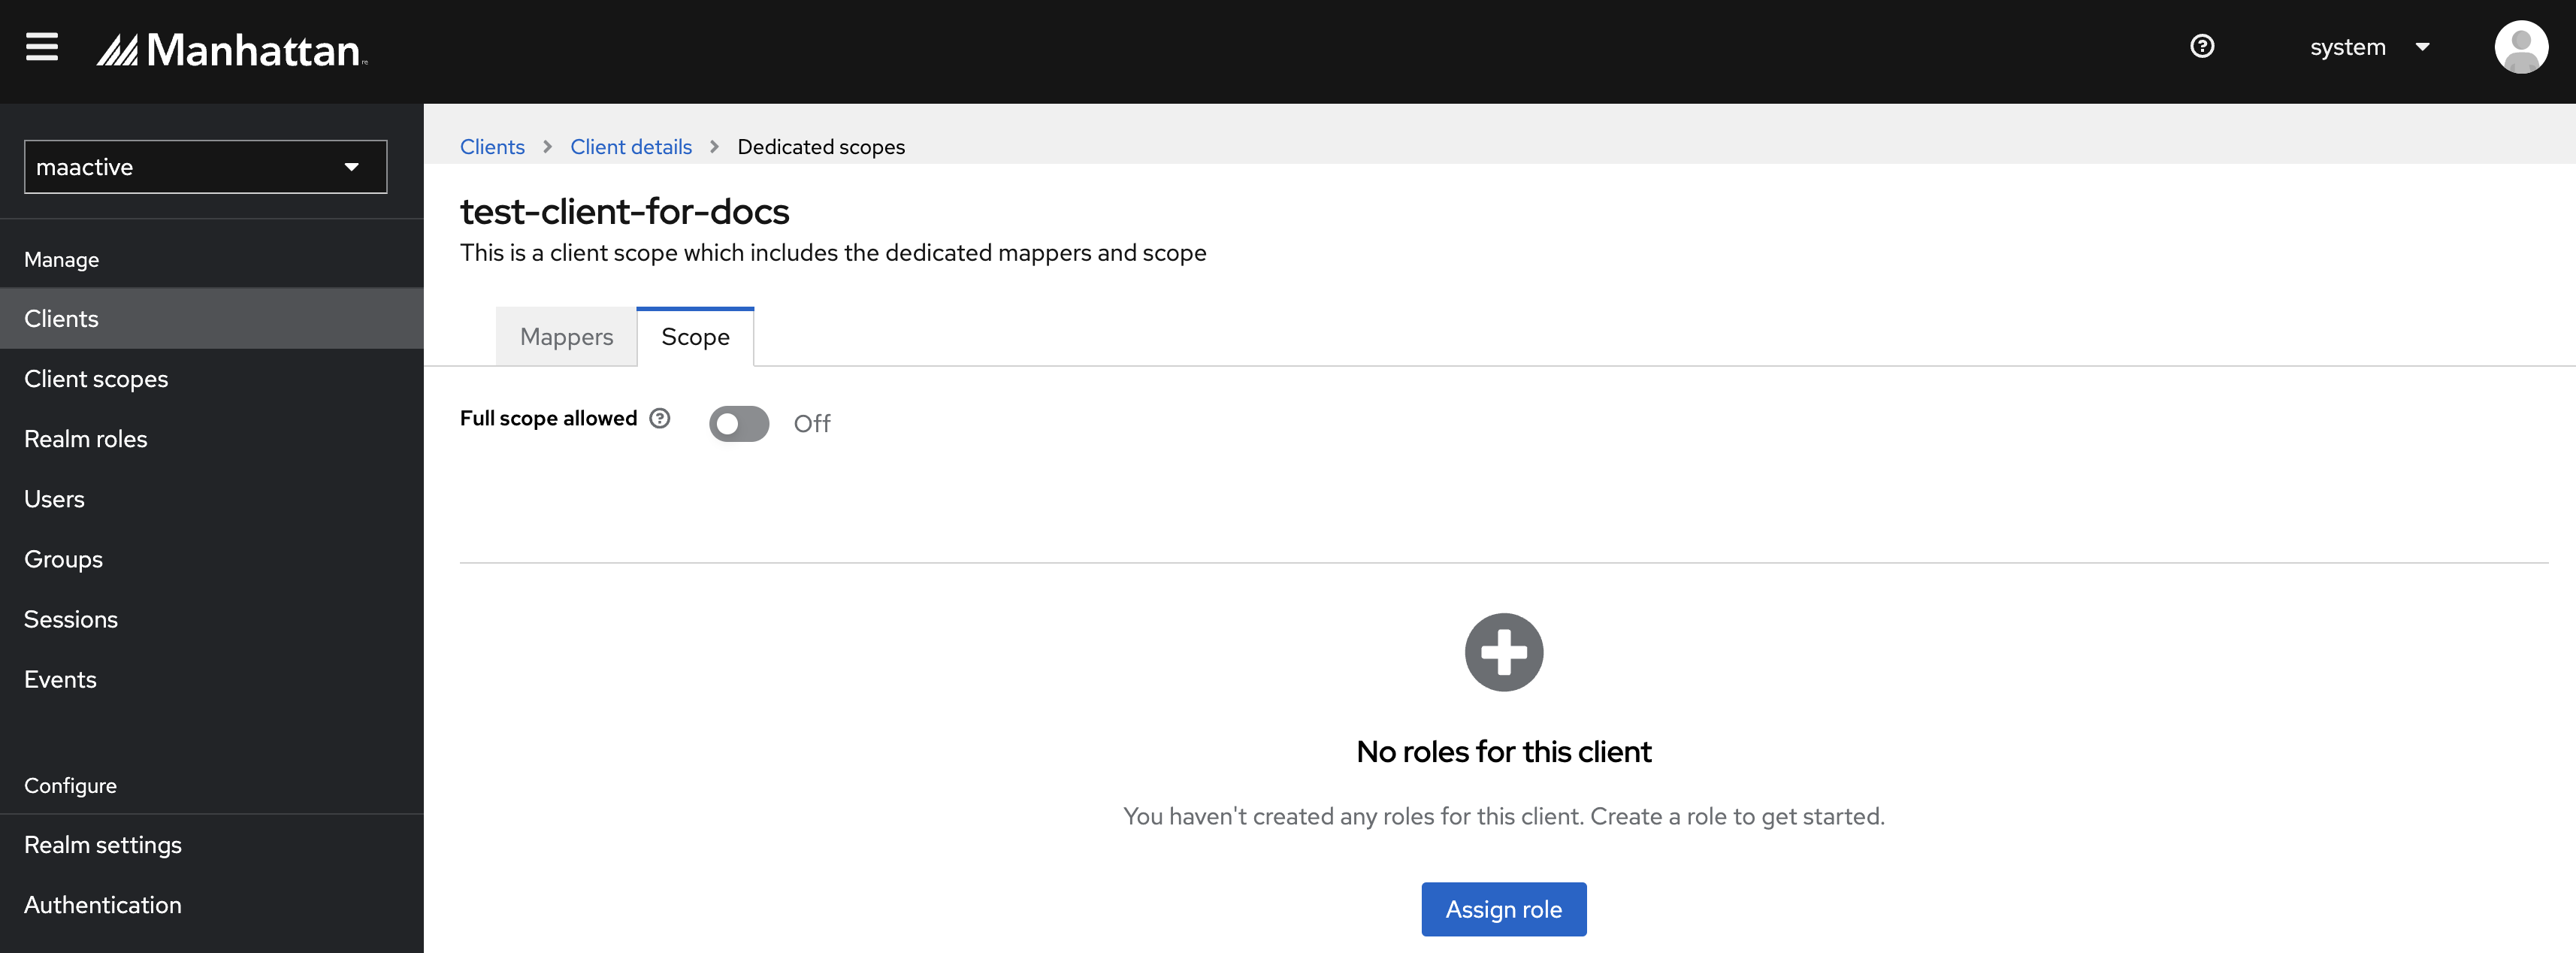
User Attribute Token Claim Name Claim Type Present in Access Token Present in ID Token Multivalued sub sub String TRUE FALSE FALSE organization organization String TRUE FALSE FALSE userOrgs userOrgs String TRUE FALSE TRUE bulkOrganizationAccess bulkOrganizationAccess boolean TRUE FALSE FALSE userBusinessUnits userBusinessUnits String TRUE FALSE TRUE excludedUserBusinessUnits excludedUserBusinessUnits String TRUE FALSE TRUE bulkBusinessUnitAccess bulkBusinessUnitAccess boolean TRUE FALSE FALSE userDefaults userDefaults JSON TRUE FALSE TRUE userLocations userLocations JSON TRUE FALSE TRUE largeStoreAccess largeStoreAccess boolean TRUE FALSE FALSE locale locale String TRUE TRUE FALSE edge edge String TRUE FALSE FALSE tenantId tenantId String TRUE FALSE FALSE userTimeZone userTimeZone String TRUE FALSE FALSE authorities authorities String TRUE FALSE TRUE reporting_roles reporting_roles String TRUE FALSE TRUE user_name user_name String TRUE FALSE FALSE Navigate to Scope tab of this dedicated scope and toggle OFF the Full scope allowed option.
Learn More
Author
Shipra Choudhary: Tech Lead, Security, ActivePlatform™, R&D.
Feedback
Was this page helpful?